/
Creating a Project in Creght
Last updated:
You can start a new project either from a template or as a blank project.
If you are new to Creght, we recommend starting with a template. Templates usually demonstrate most of Creght’s core features, so you can quickly build a fully functional website by making simple edits.
Starting from a Template
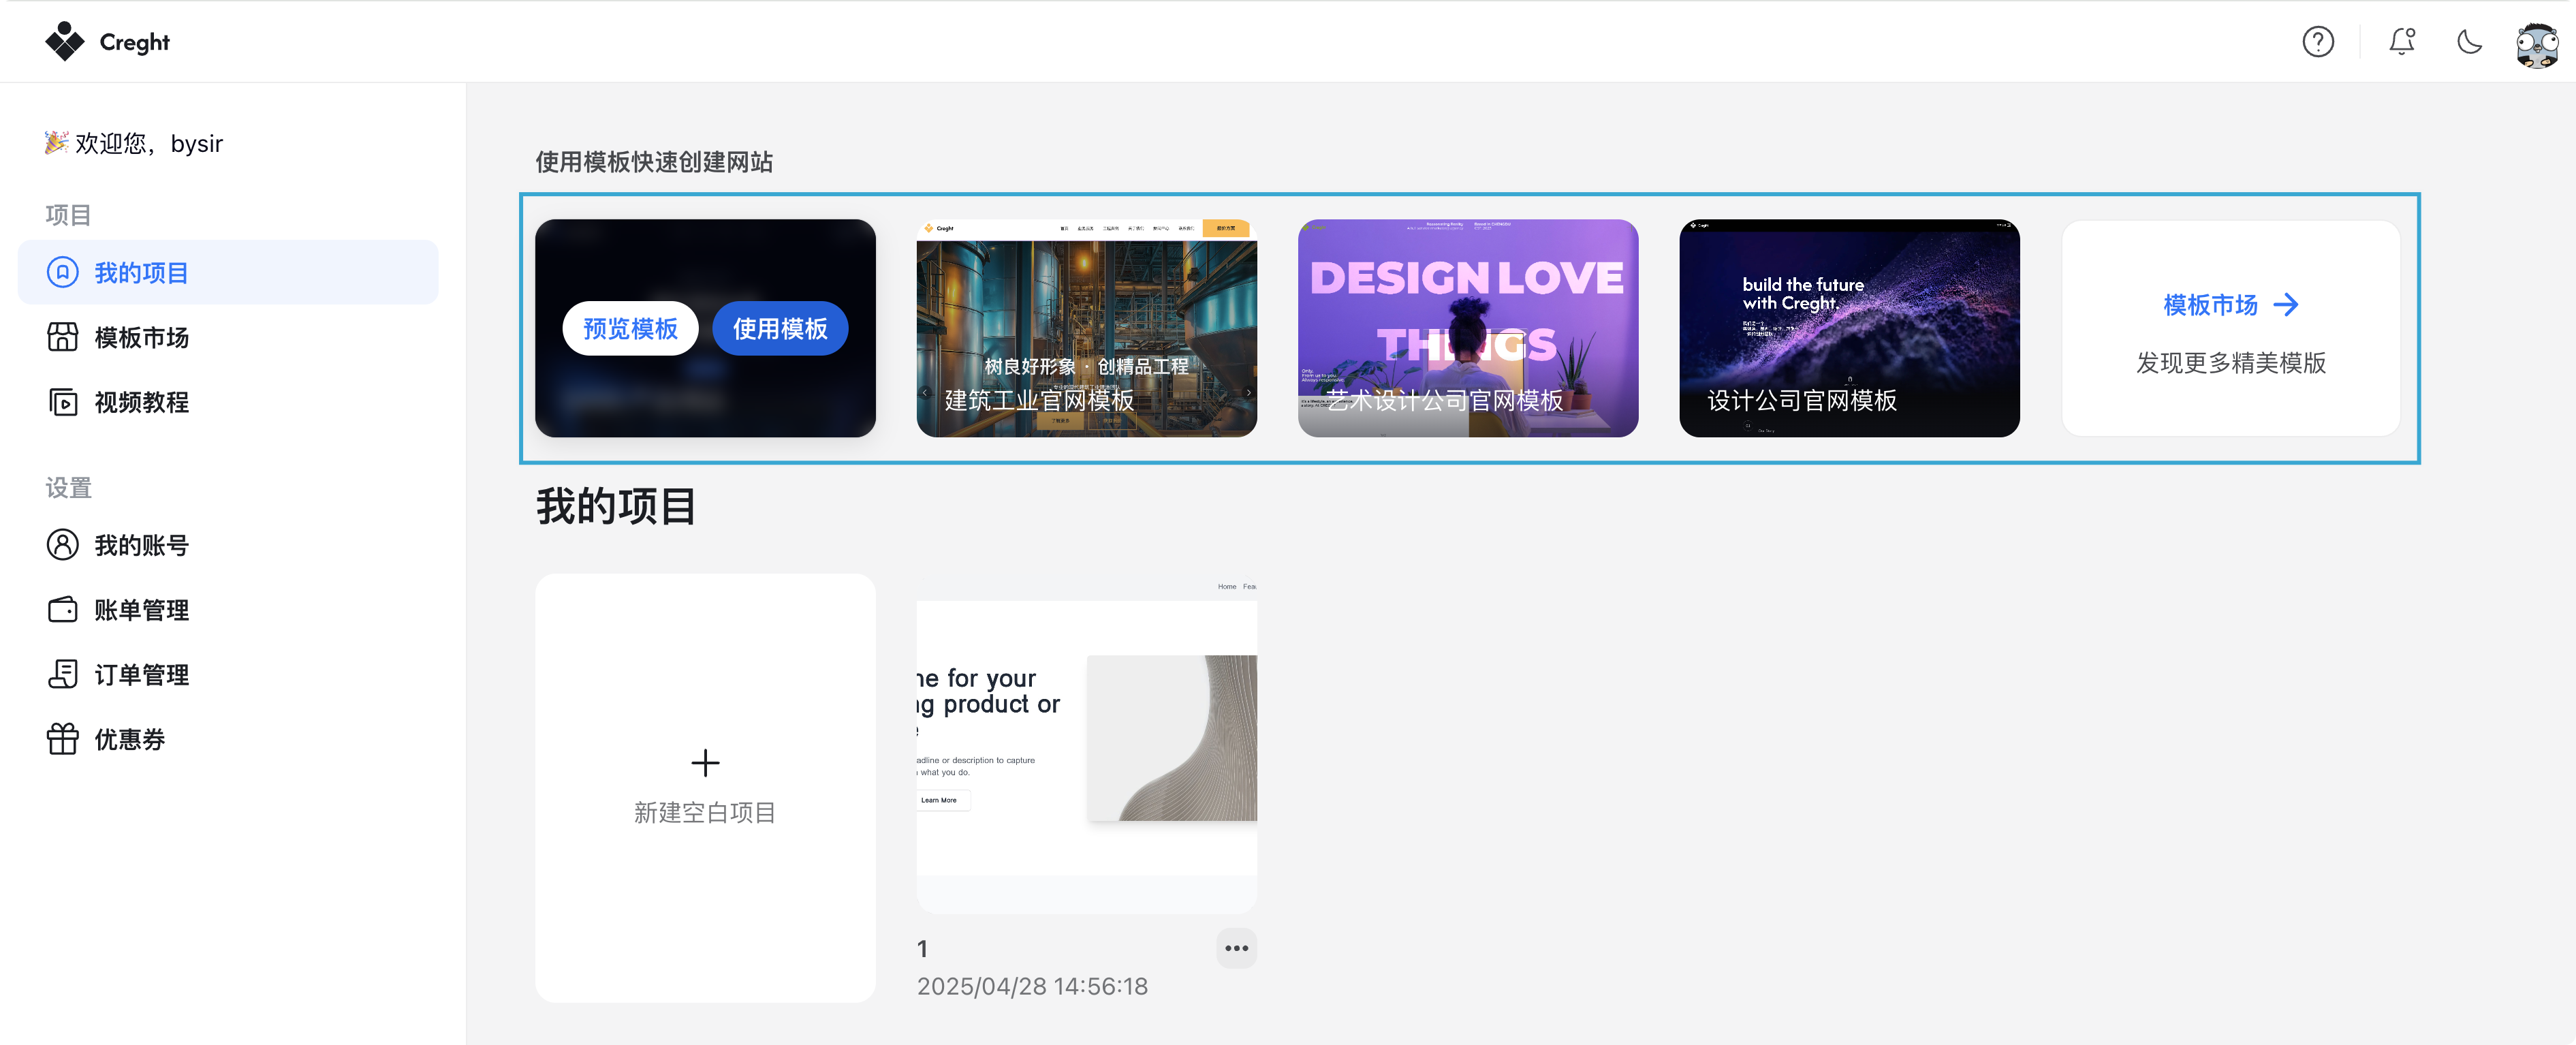
On the Dashboard homepage, you will see featured templates. Click Use Template to create a project from one of them:
In the Template Marketplace, you can browse and choose from all available templates.
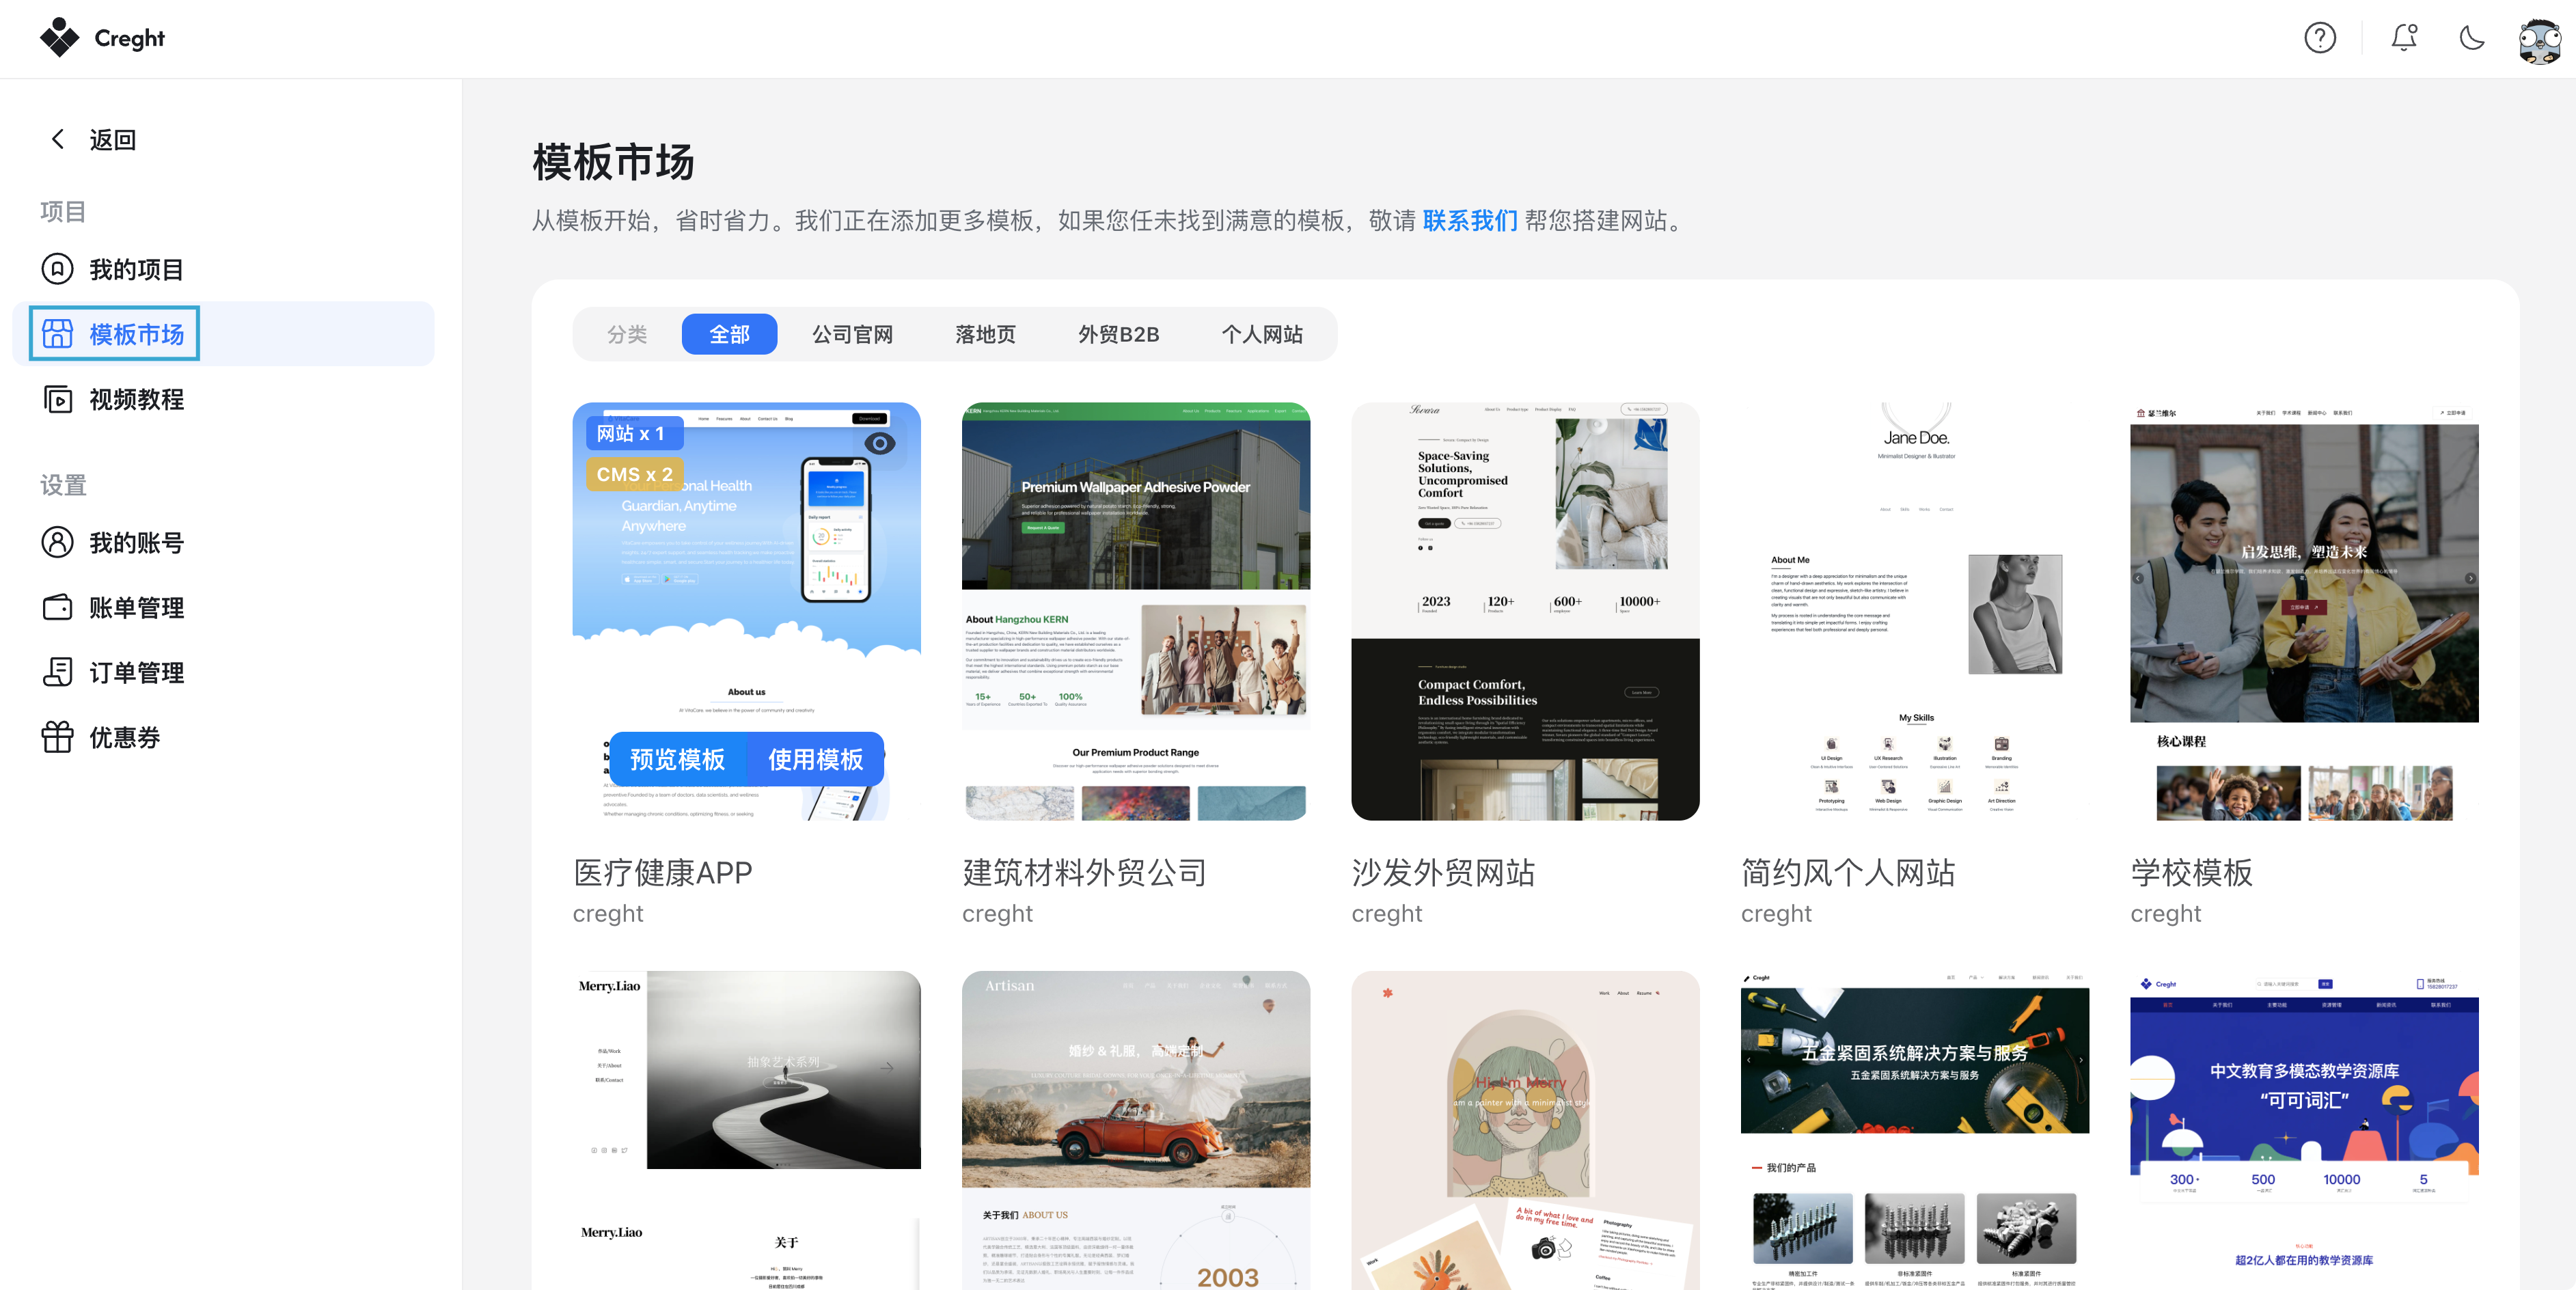
🔧 We are continuously updating our template library. If you cannot find a template that fits your needs, please share your requirements with us. We may prioritize building a template for you. For higher design requirements, we also provide professional designer services.
Starting from a Blank Project
If you are already familiar with Creght, you may choose a blank project to build your website from scratch.
A blank project doesn’t mean you have to build block by block. To help you work more efficiently, Creght provides:
- Website templates as references – Create a template-based project, copy sections you like, and paste them into your own project.
- Block templates – Pre-designed blocks that can be copied and reused. Click here to explore block templates.
Editing Your Website
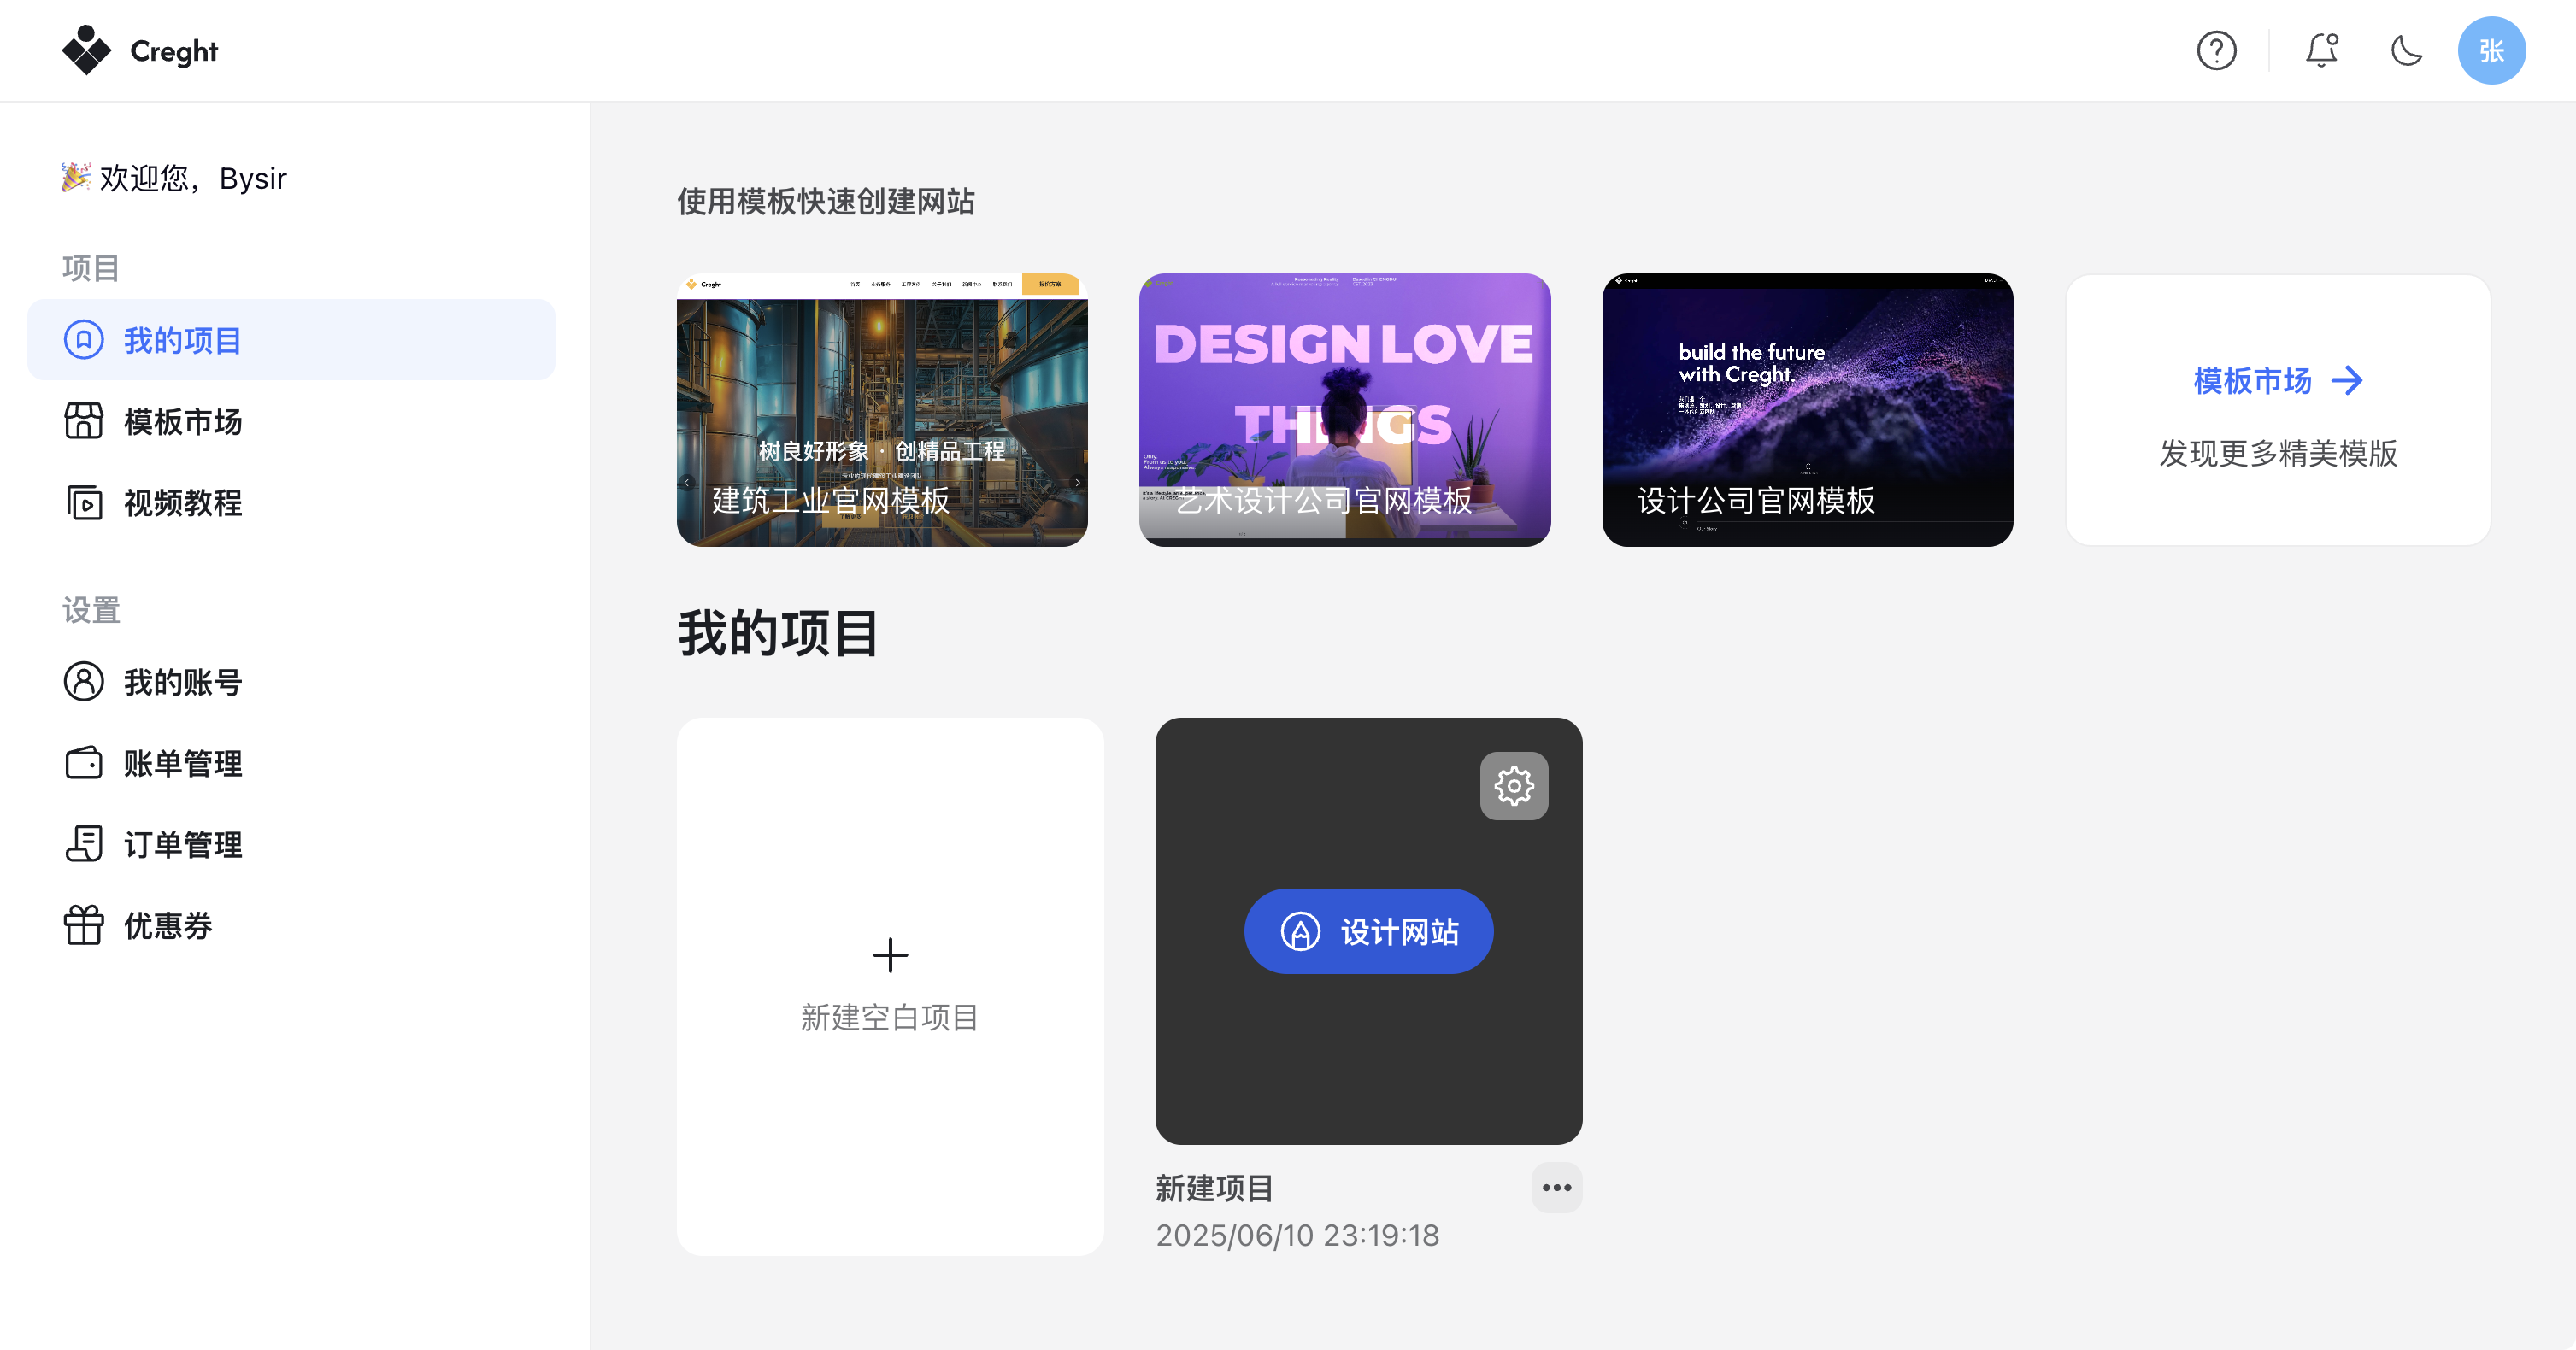
In your project list, click Design to enter the editor.
If you start from a blank project, the first step is adding elements.
Adding a Container Element
- Click the box icon in the top toolbar to enter container mode.
Draw a container on the canvas by clicking and dragging.
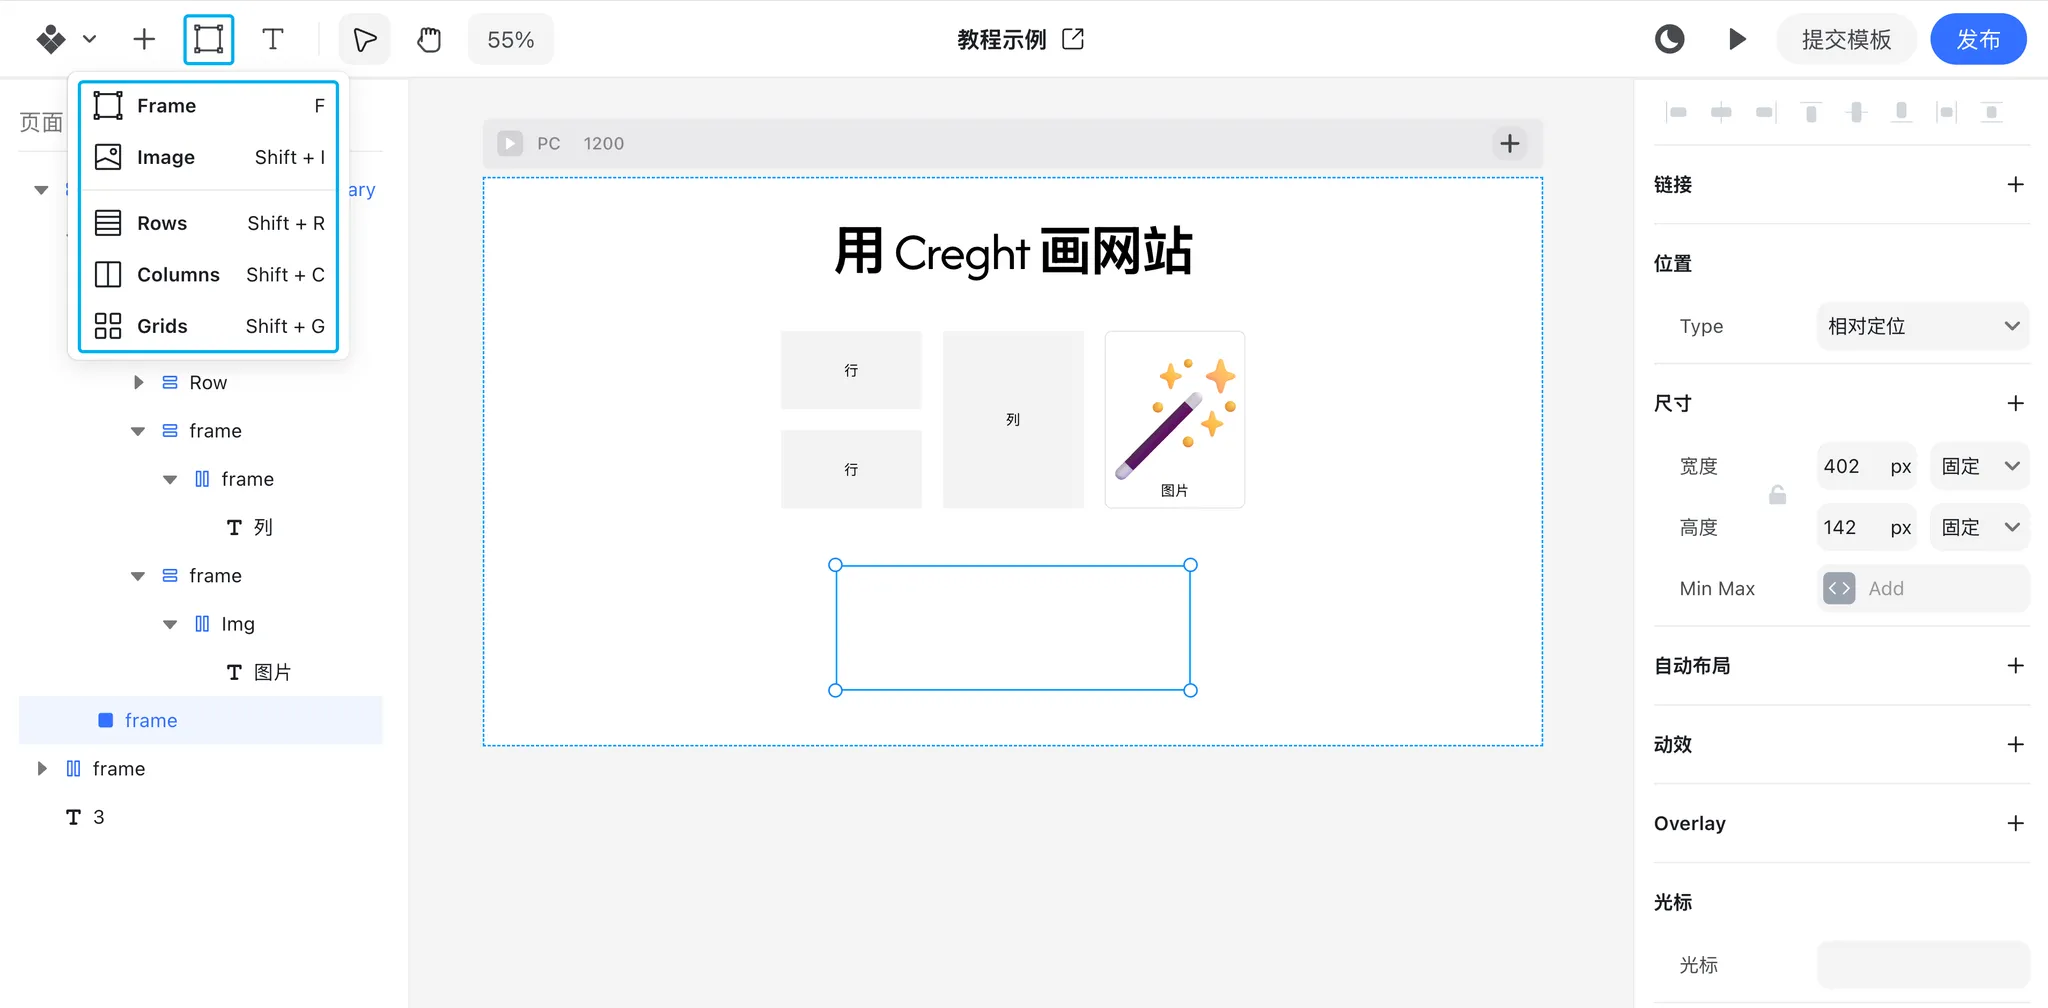
- You can also use shortcuts for faster workflow:
- F → Container mode
- T → Text mode
💡 Tip: When designing a block, you can first build it outside the breakpoint area, and move it inside later. This helps you stay focused while editing.
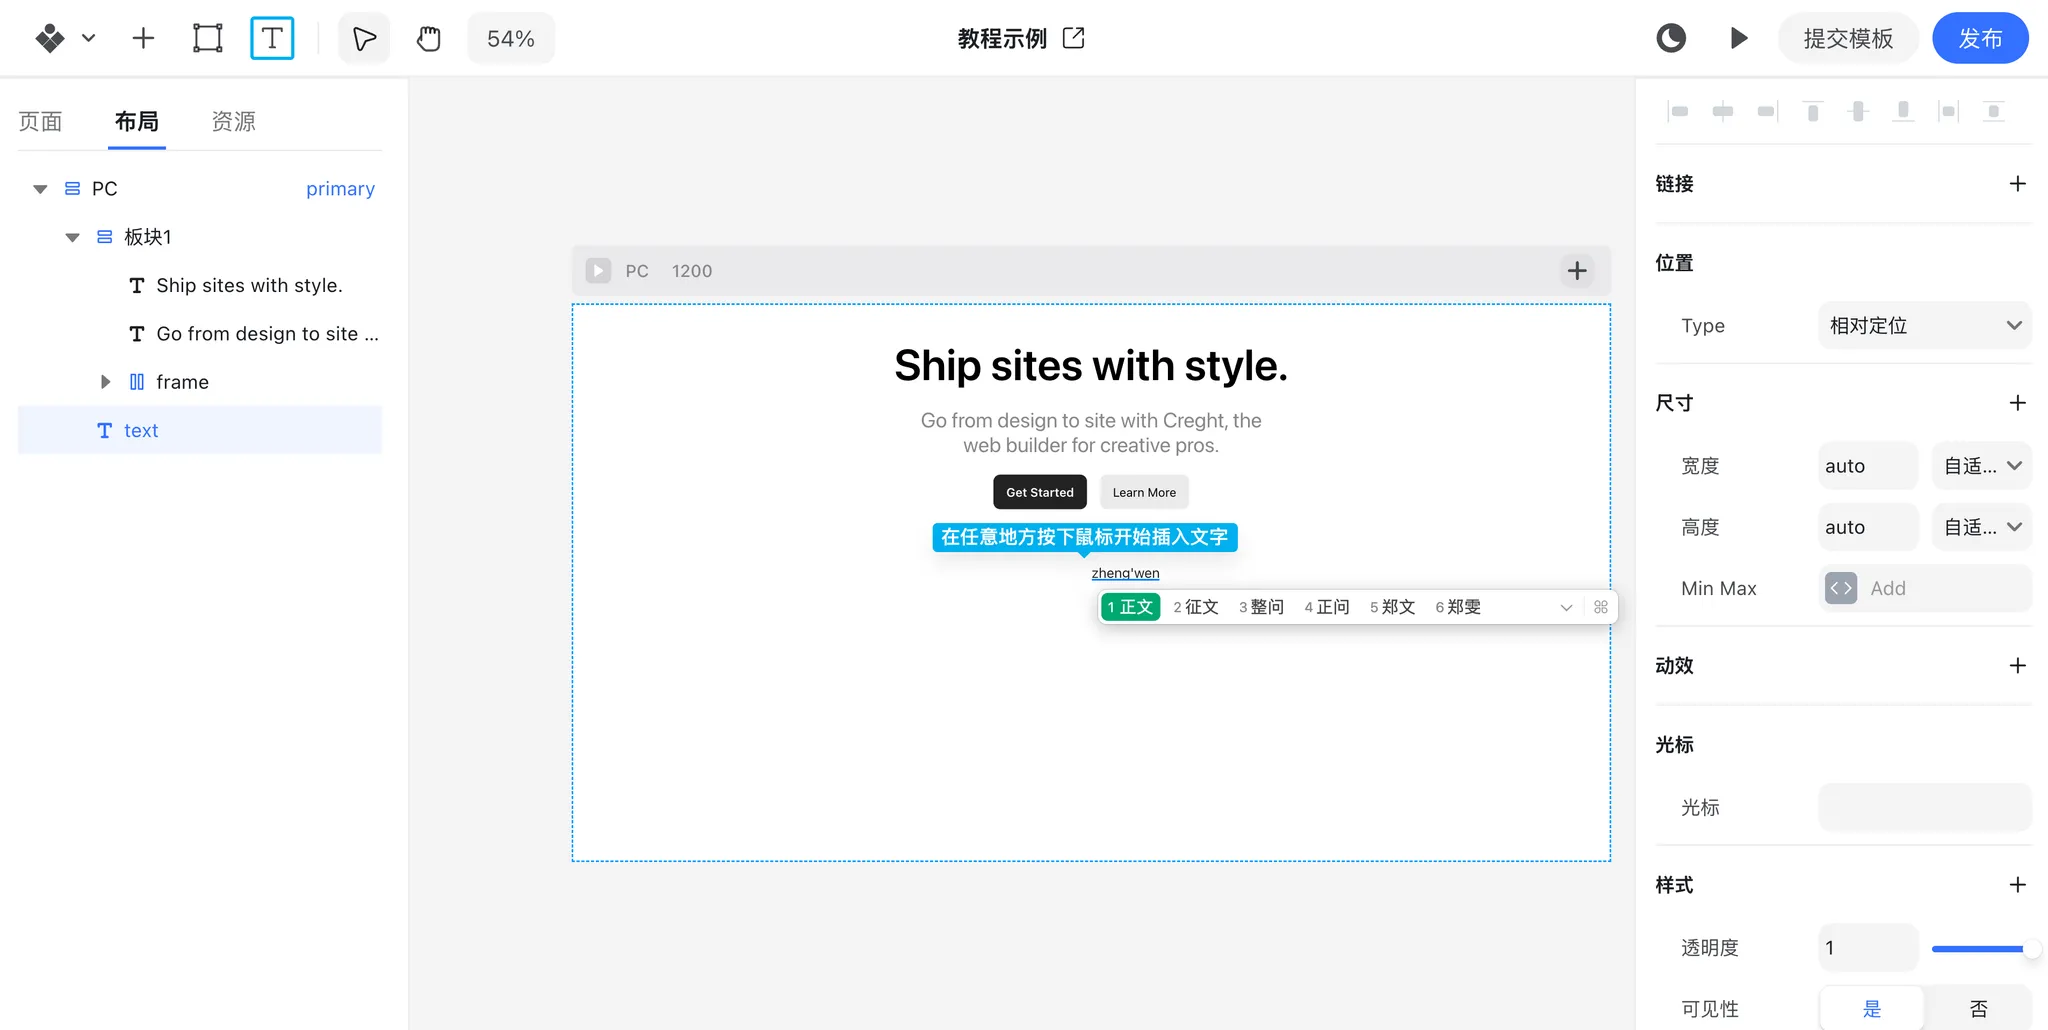
Adding a Text Element
- Click the T icon to enter text mode.
Click anywhere on the canvas, then type your text.
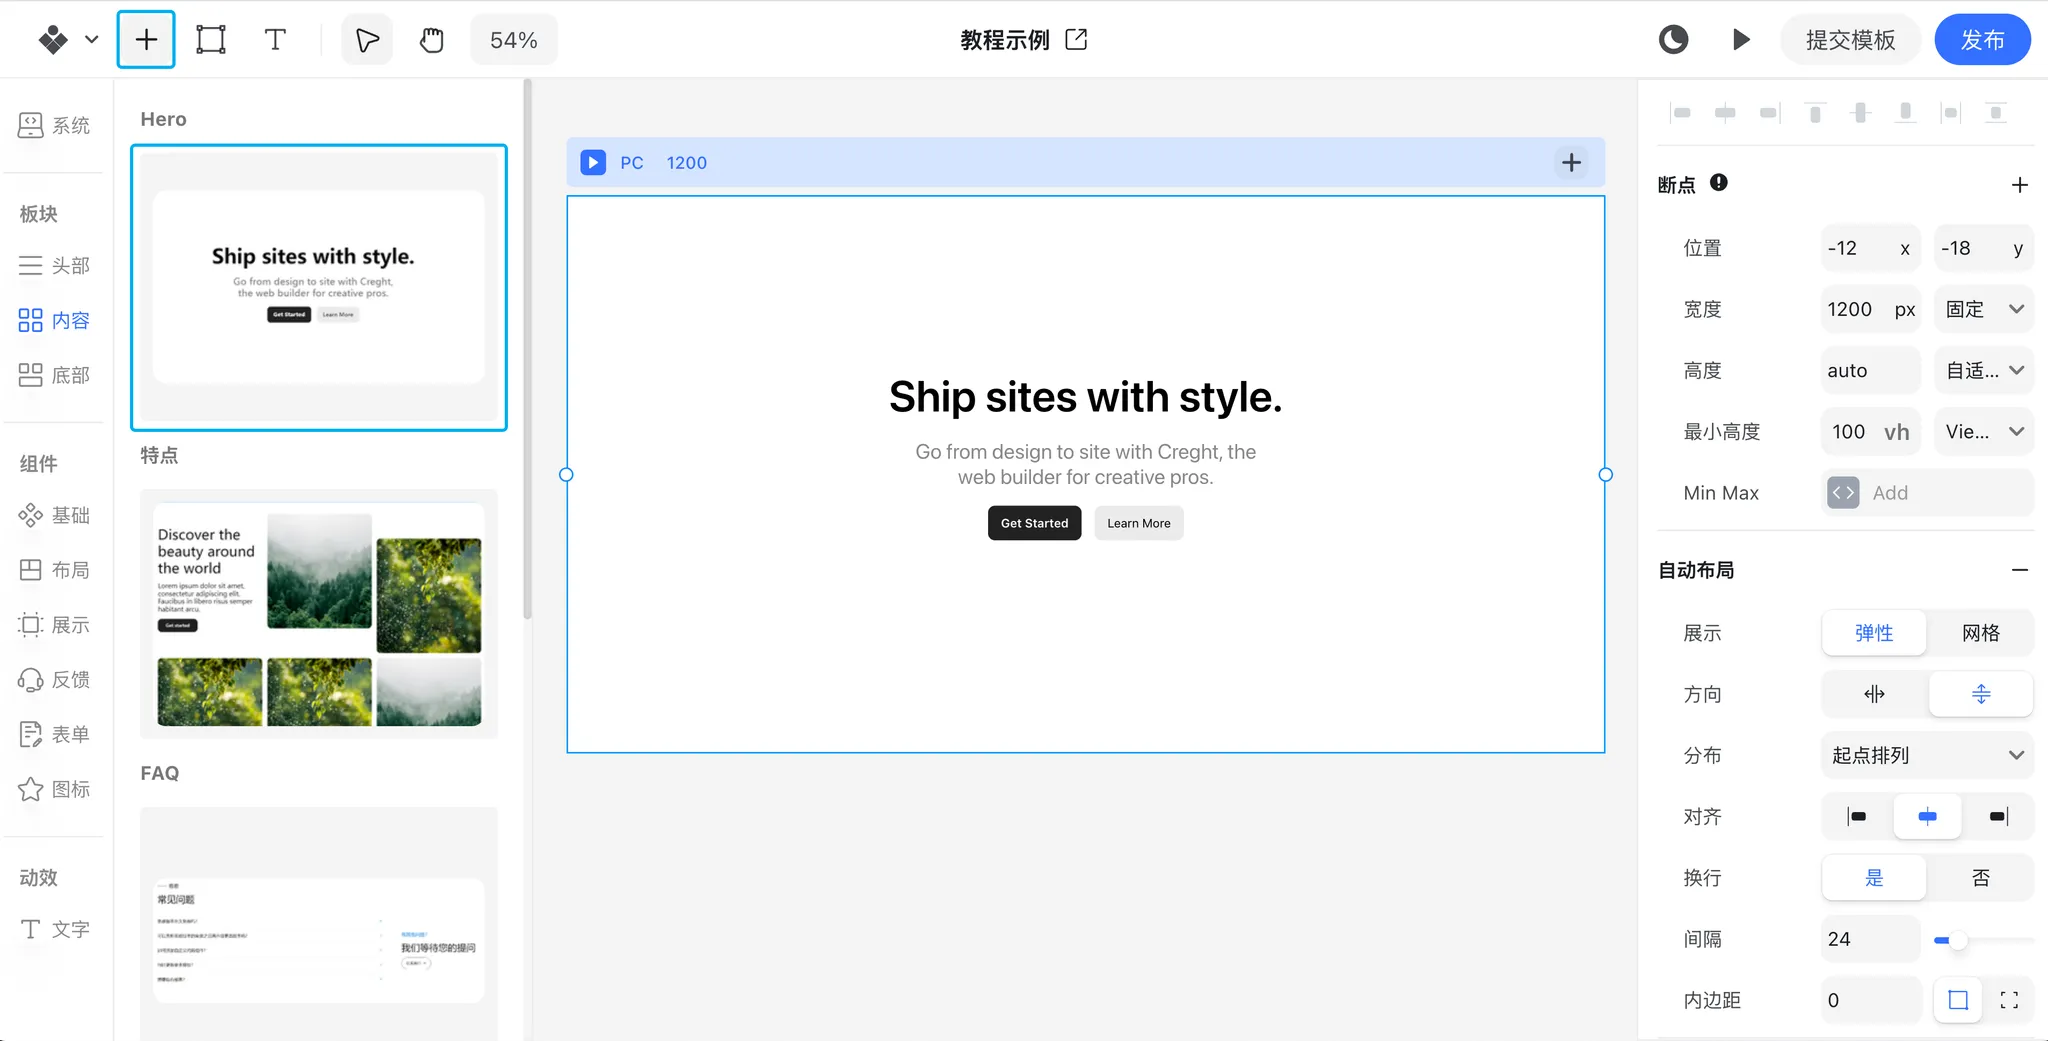
Adding a Block
While containers and text elements are the foundation of web design, adding them one by one can be inefficient.
That’s why the Insert Panel provides pre-made blocks.
- Click the + icon to expand the Insert Panel.
Either drag & drop a block onto the canvas, or click it to auto-insert into the main container.
Editing Elements
When you select an element, the right panel displays its settings.
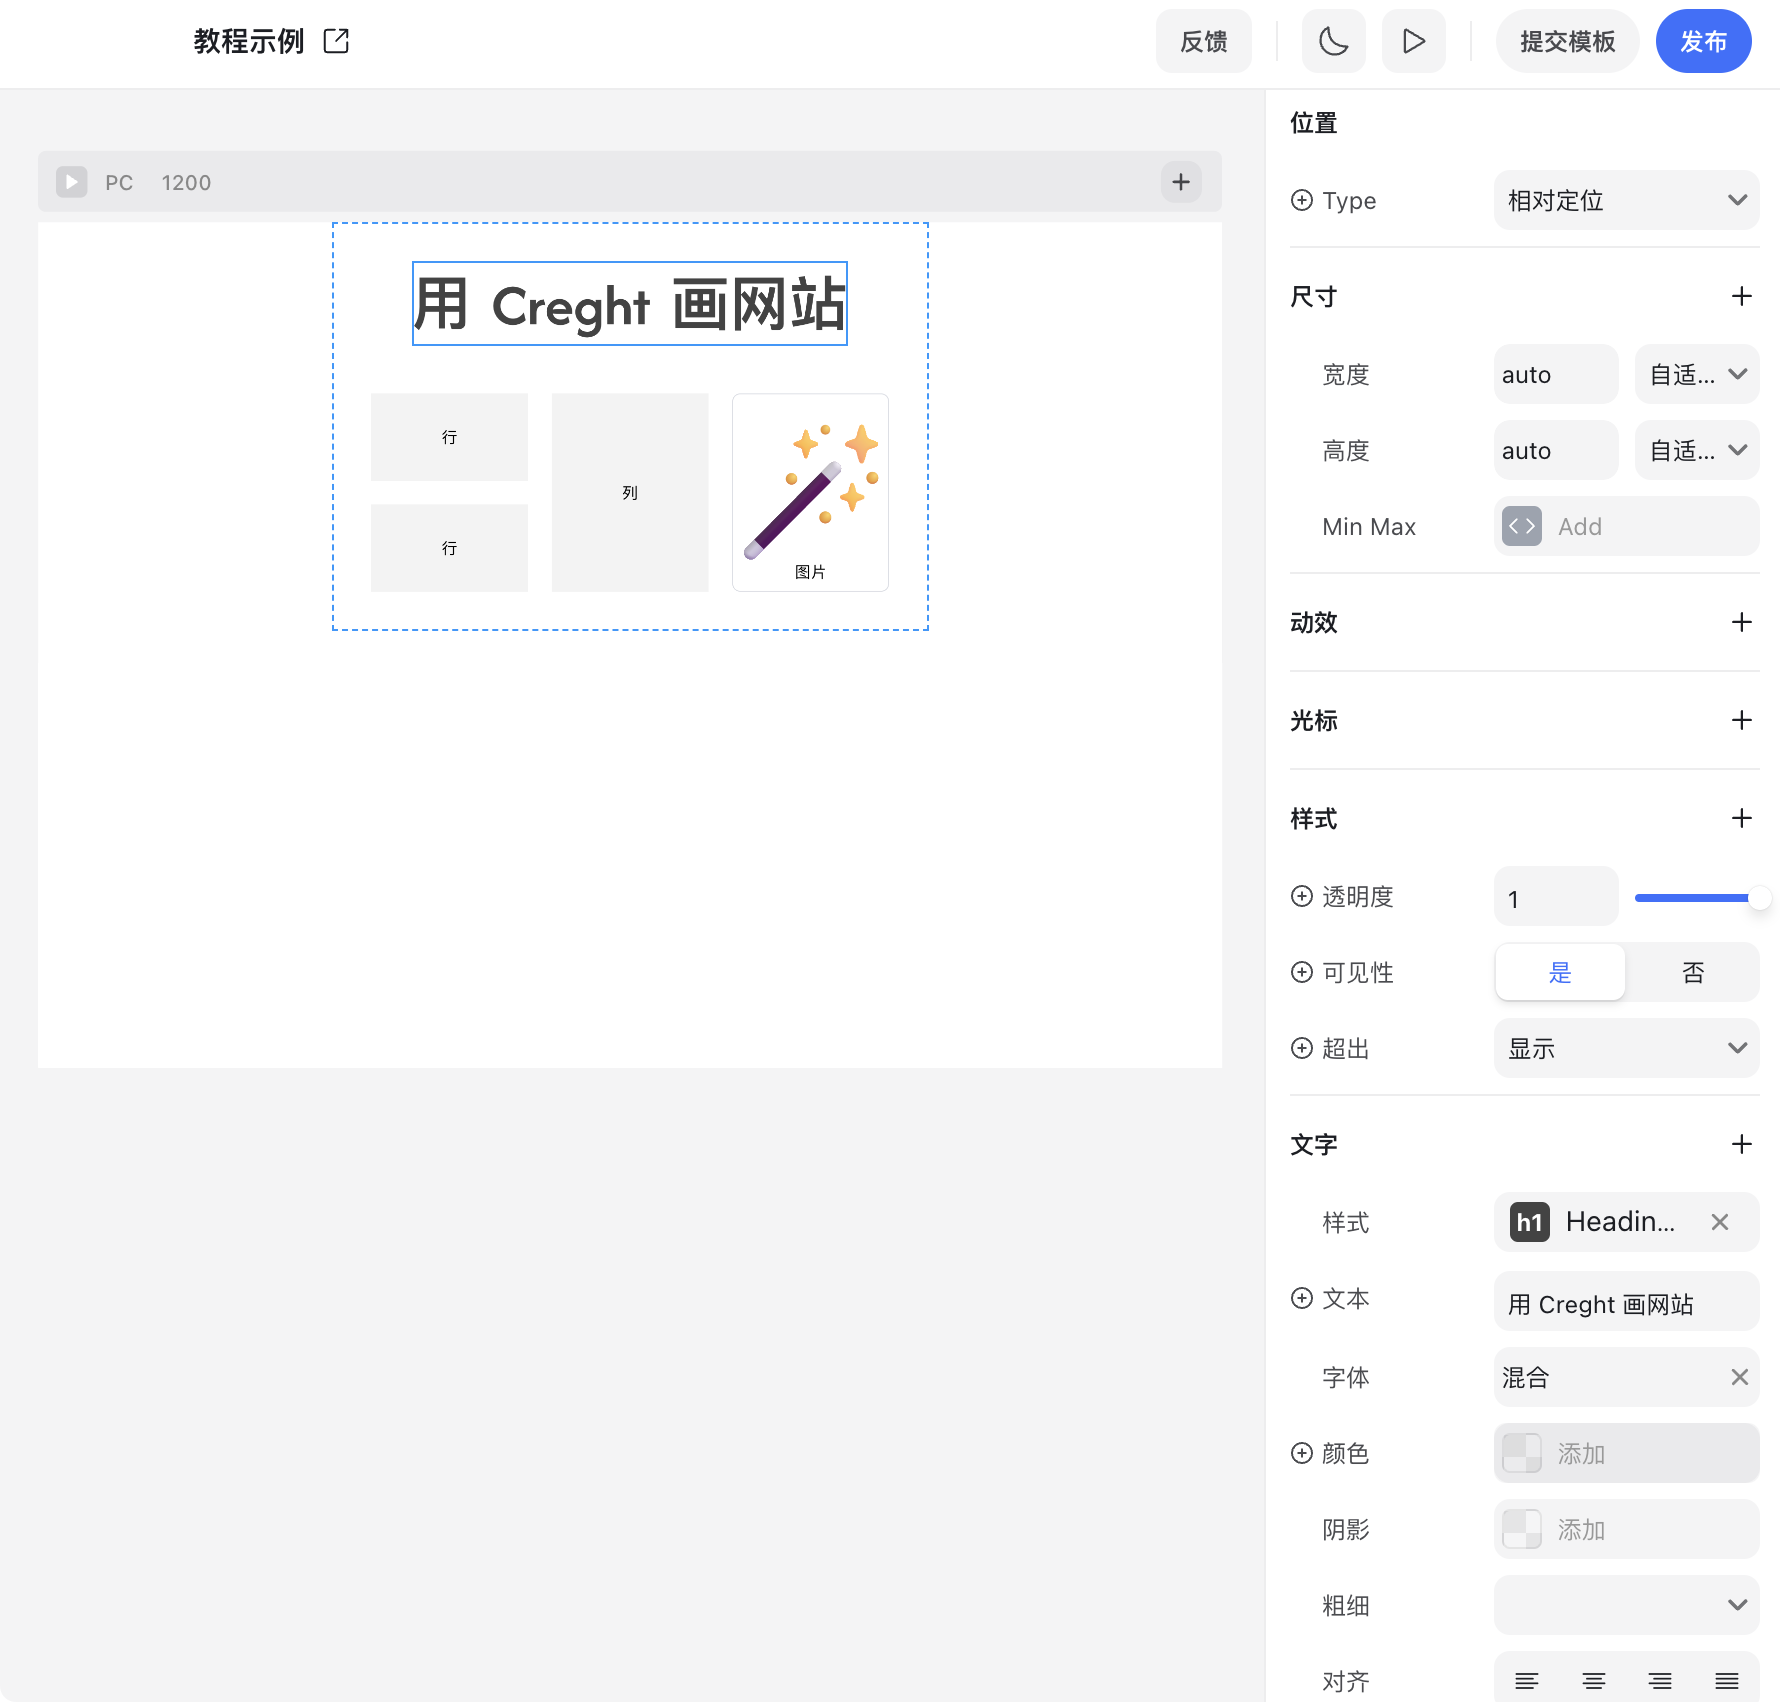
Text Element Settings
From top to bottom: Position, Size, Animation, Cursor, Style, Text, Transform, Accessibility.
Only Text is exclusive to text elements; other properties are shared across element types.
Container Element Settings
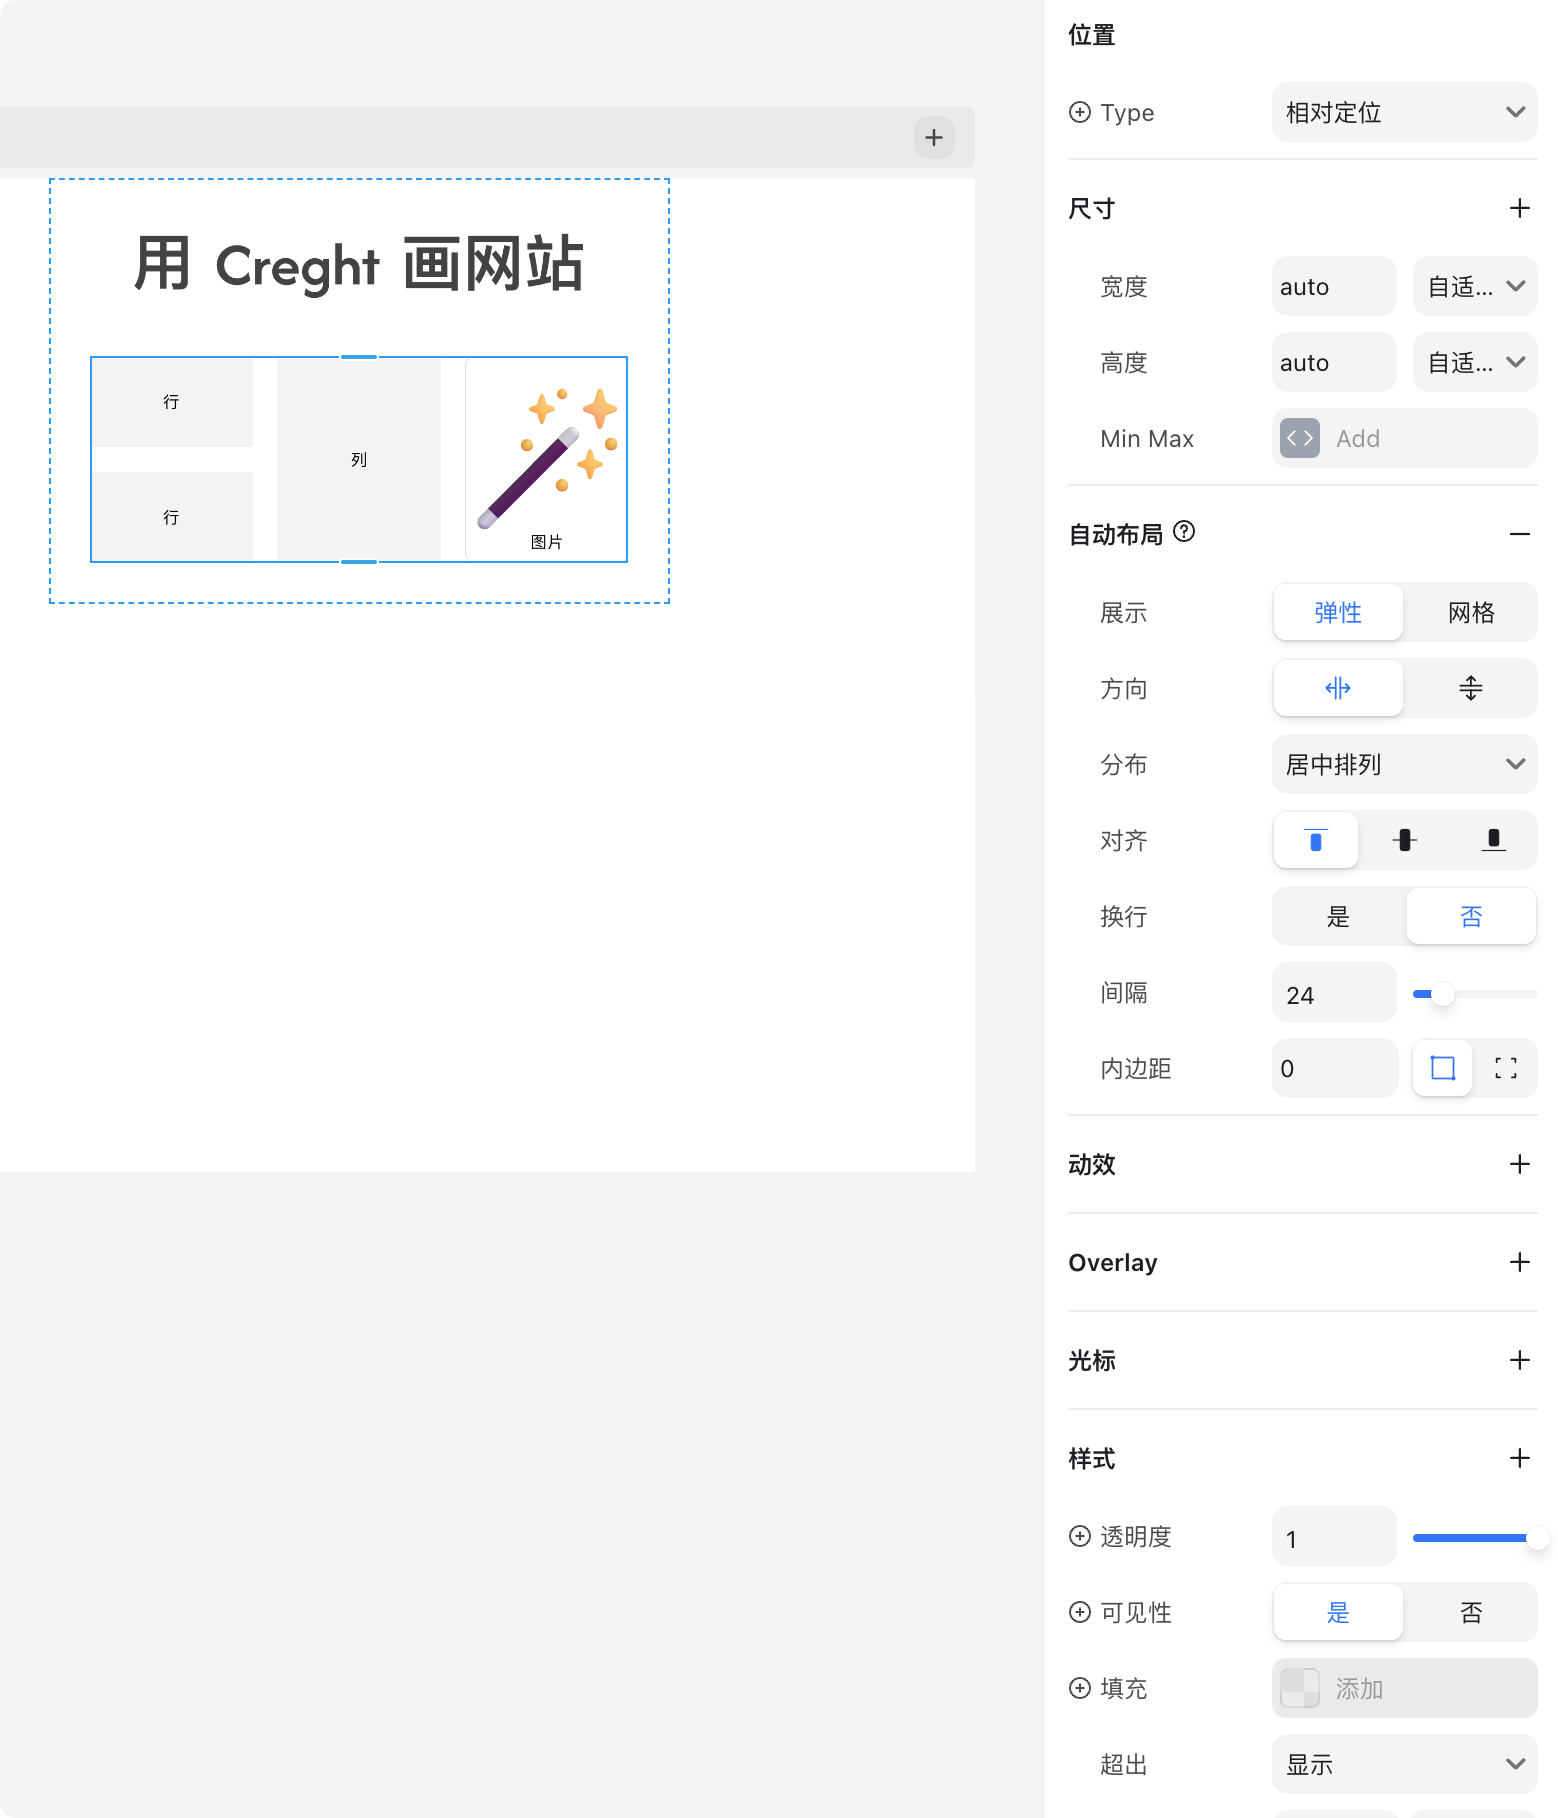
From top to bottom: Position, Size, Animation, Cursor, Style, Accessibility, Layout.
- Layout is unique to containers and controls how child elements are arranged.
💡 Tip: The best way to learn is by experimenting. Don’t worry about breaking anything—you can always press Ctrl+Z (⌘+Z) to undo.
Publishing Your Website
When ready, click the Publish button in the top-right corner, then click Update to deploy your site.
After publishing, Creght automatically assigns your site a default domain (visible in the publish dialog).

Before going live, we recommend:
- Complete SEO settings → Helps search engines index your site more accurately. Learn more here.
- Bind a custom domain → Improves professionalism and brand authority. Learn more here.
🎉 Now your site is live! Next, we will explore Creght’s advanced features.