/
Using the Editor
Last updated:
The editor is where you design every page of your website.
To access the editor, go to Workspace → Project → Website → Design Page.
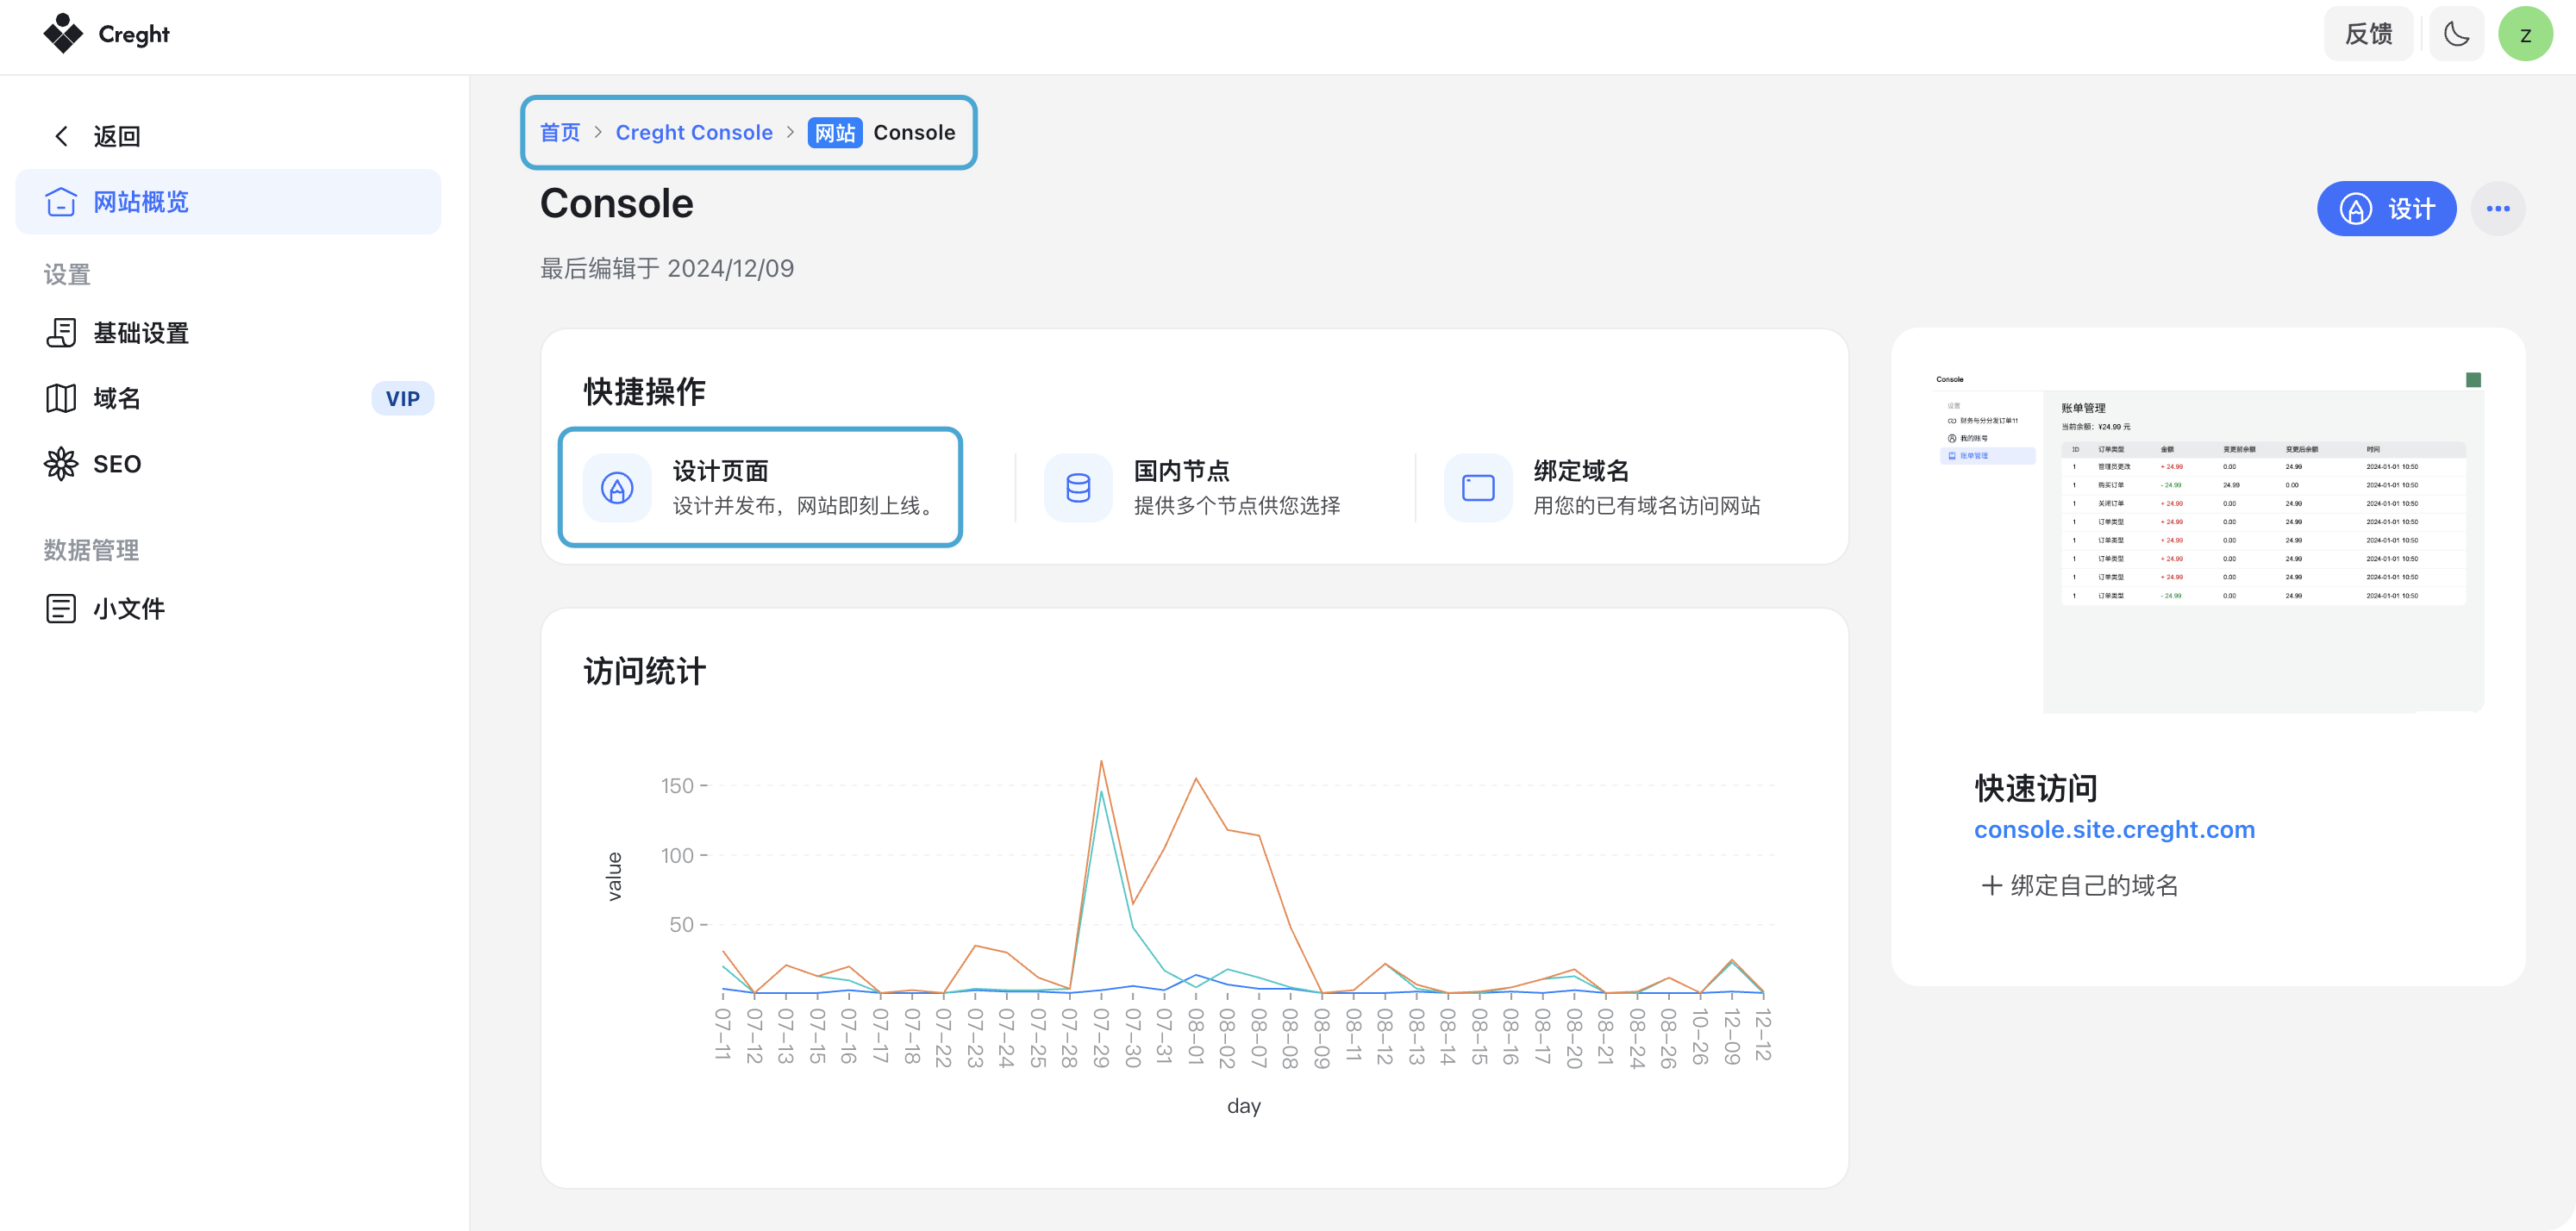
Website Details Page
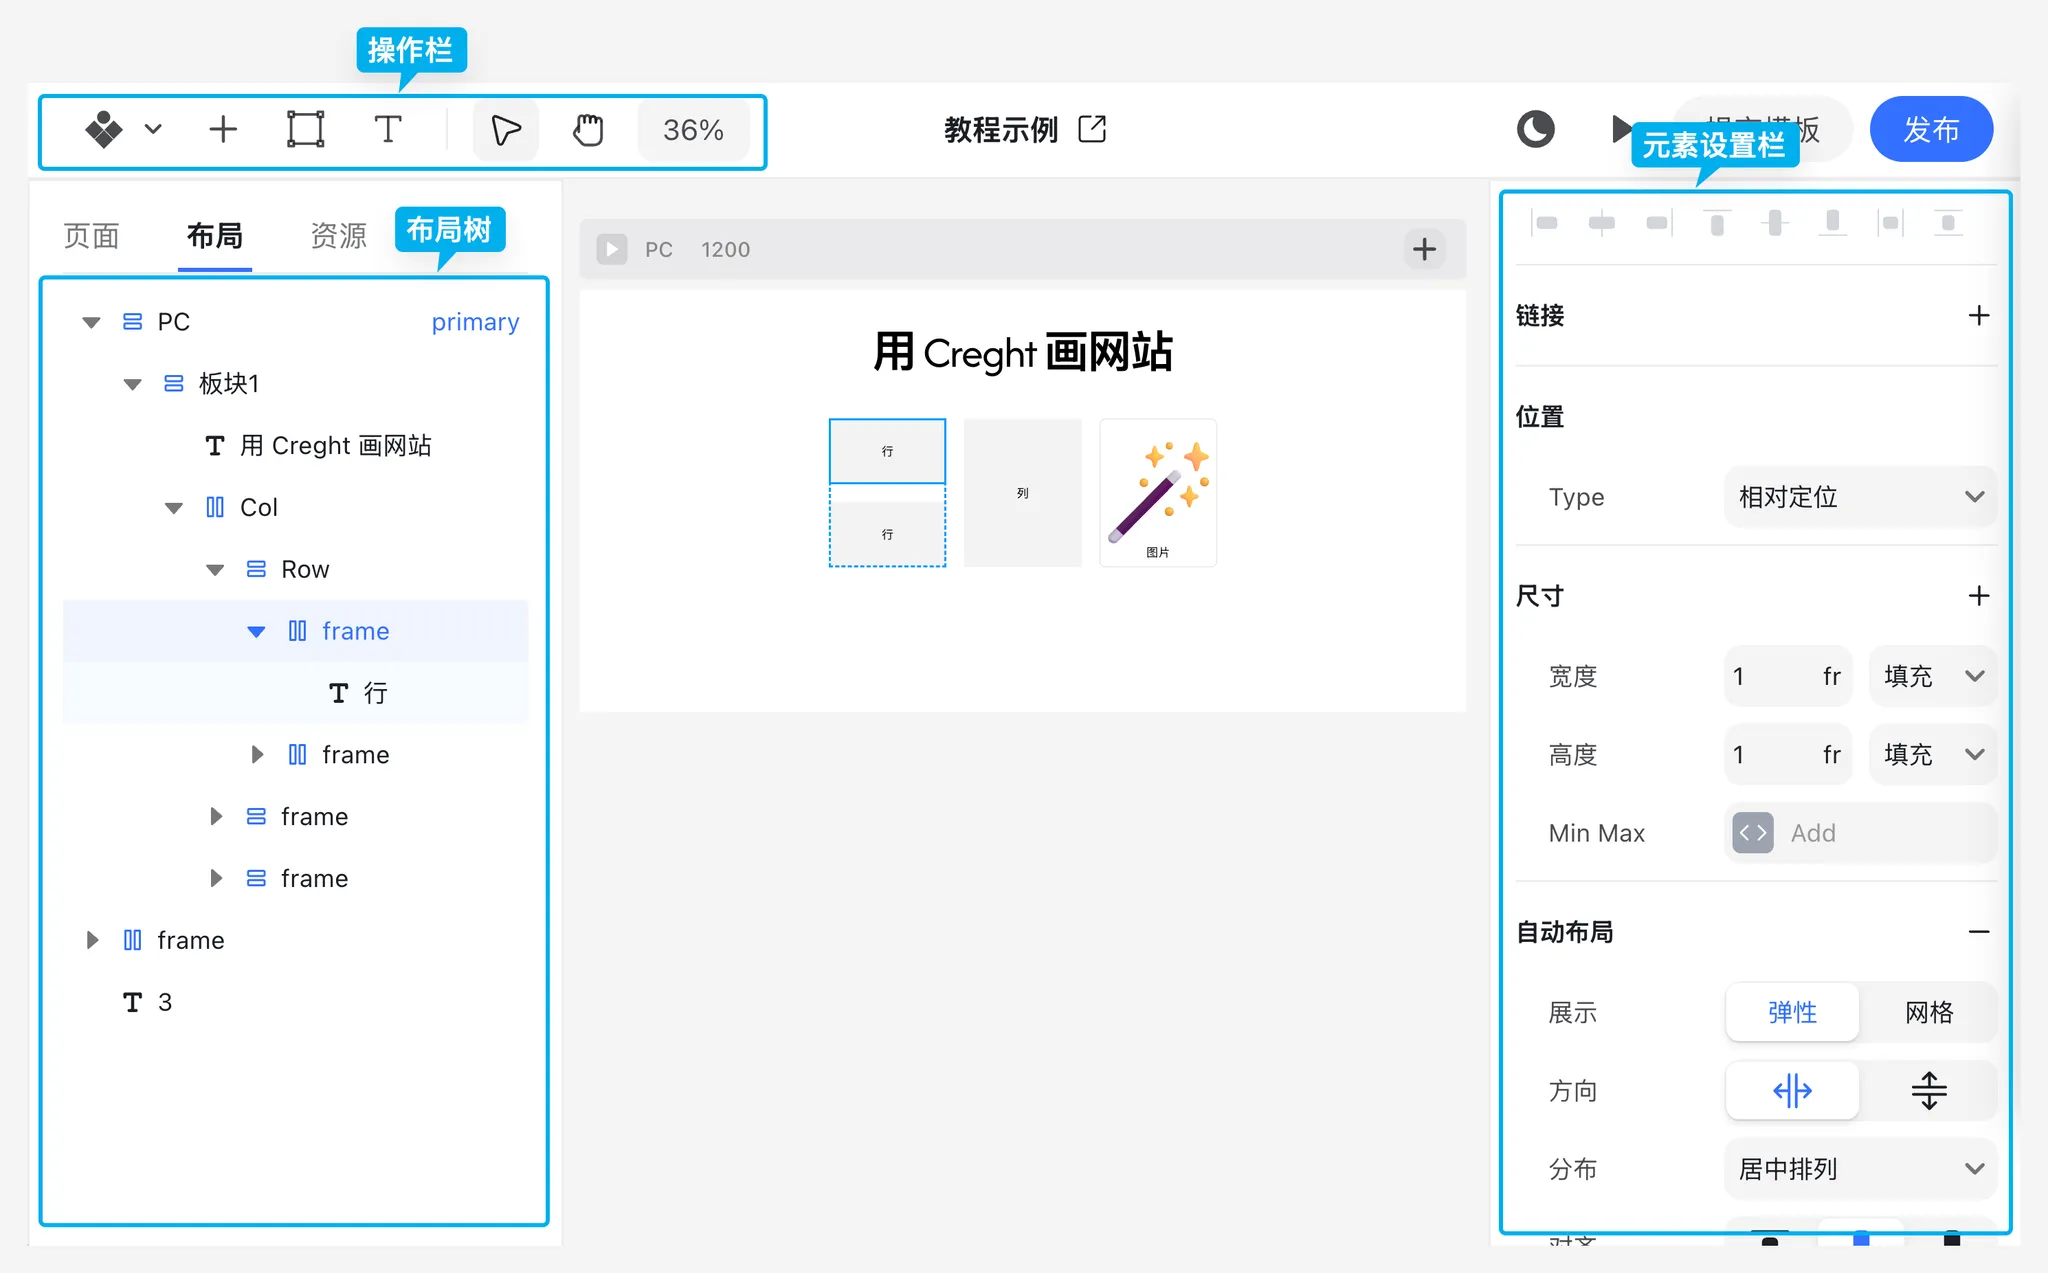
Editor Layout
The editor interface is divided into four main areas:
- Top Toolbar – Add and manage elements.
- Left Panel (Page & Layer Tree) – Organize page structure and element hierarchy.
- Right Panel (Element Settings) – Configure properties of selected elements.
- Canvas – The main working area where you design and arrange elements.
Quick Guide:
- To add elements, use the Top Toolbar.
- To organize or reorder elements, use the Left Layer Tree.
- To customize element properties, select an element and use the Right Settings Panel.
Top Toolbar
The toolbar allows you to add basic elements such as containers, text, or prebuilt components.
From left to right: Menu, Add from Library, Add Container, Add Text, Cursor Mode, Zoom Canvas.
Menu
Provides shortcuts to project navigation, plan upgrades, and other global actions.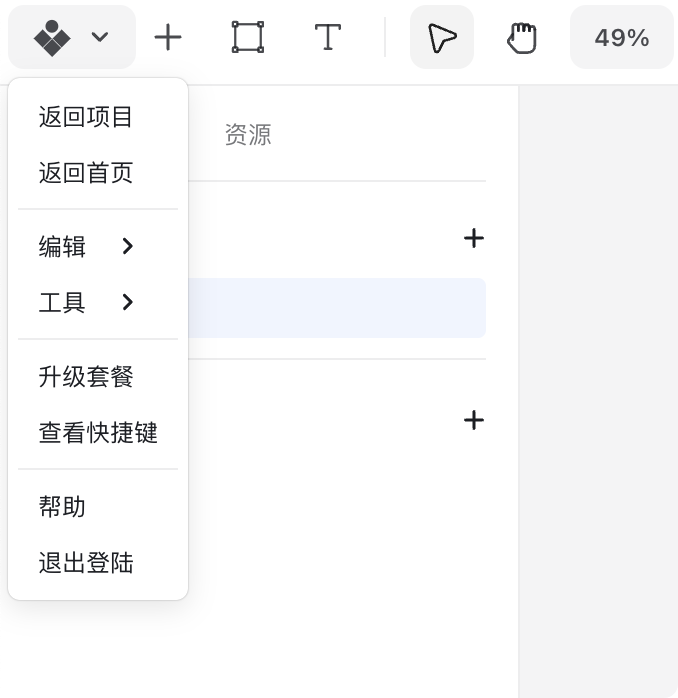
Add from Library
Creght includes a library of prebuilt components to accelerate page building. Simply drag and drop a component onto the canvas.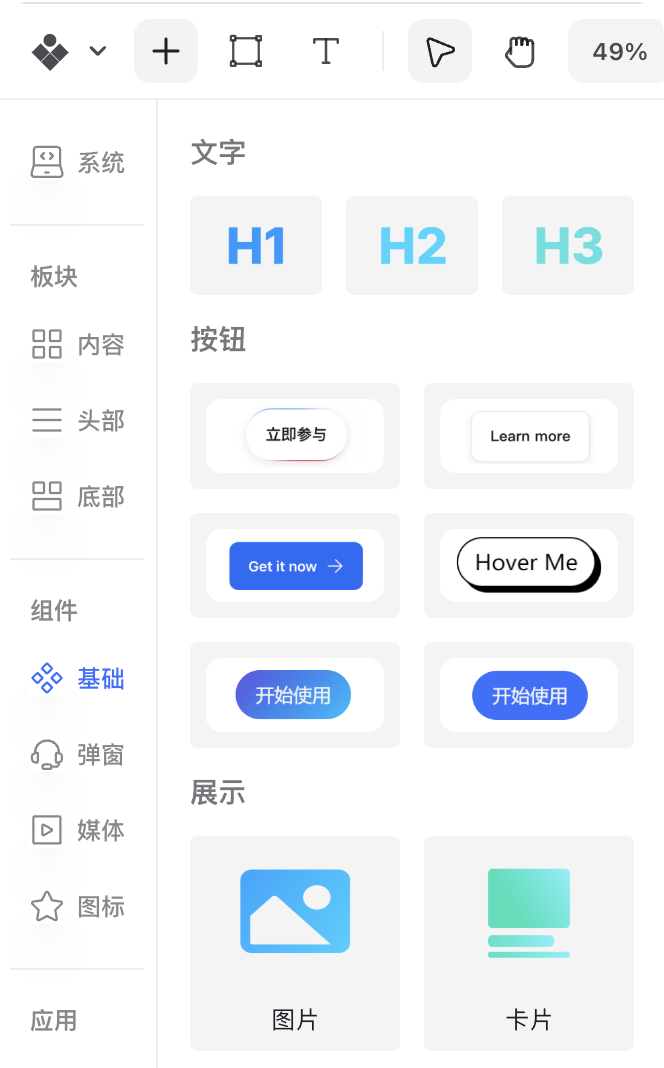
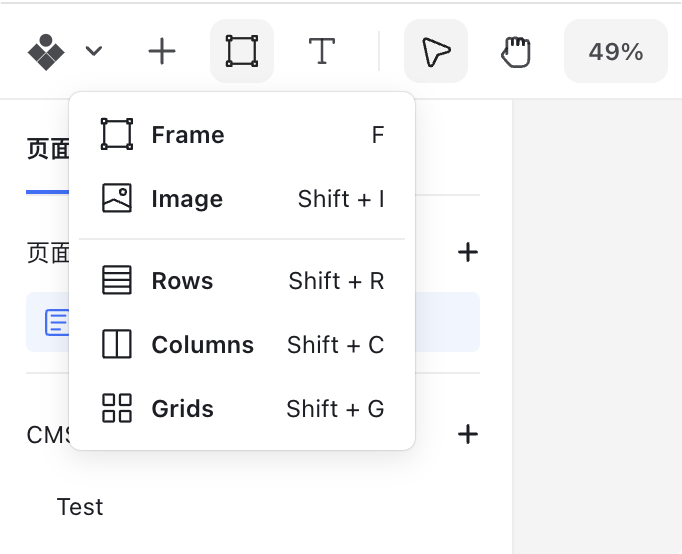
Add Container
Containers are layout elements such as Columns, Rows, and Grids.
- Shortcut: F
- Draw a rectangle on the canvas to create a container.
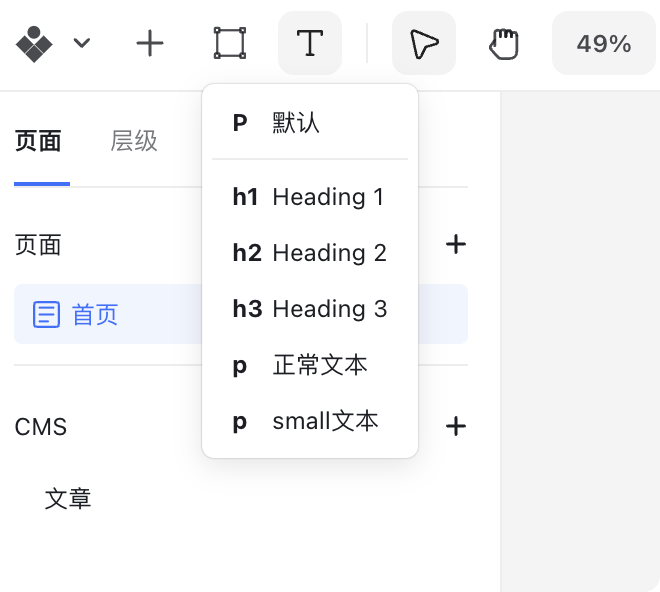
Add Text
Insert text blocks for headings, body copy, or labels.
- Shortcut: T
- Draw or click on the canvas to create a text element, then double-click to edit.
Cursor Modes
- Default Mode – Select and move elements.
- Hand Mode – Pan the canvas by clicking and dragging.
Zoom Canvas
Adjust the zoom level (e.g., 100% or “Fit to Screen”) for better visibility.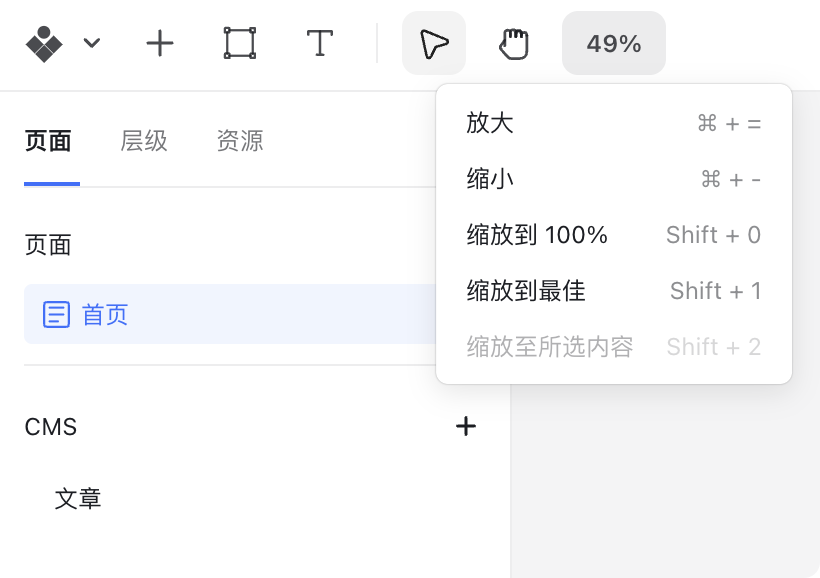
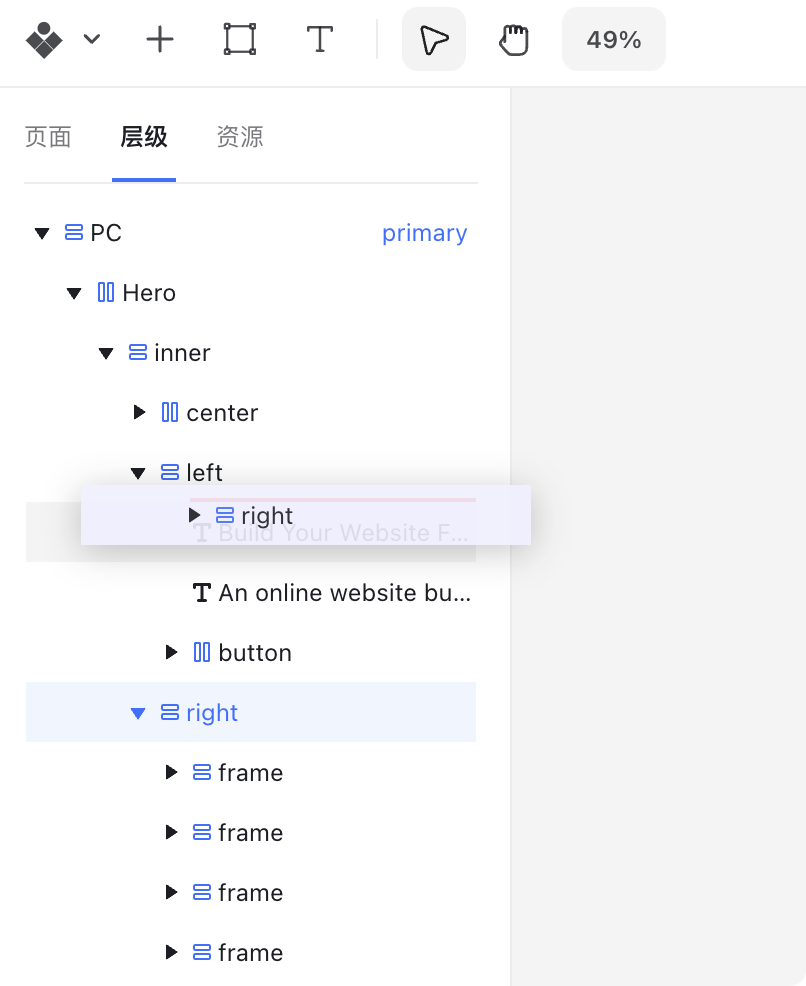
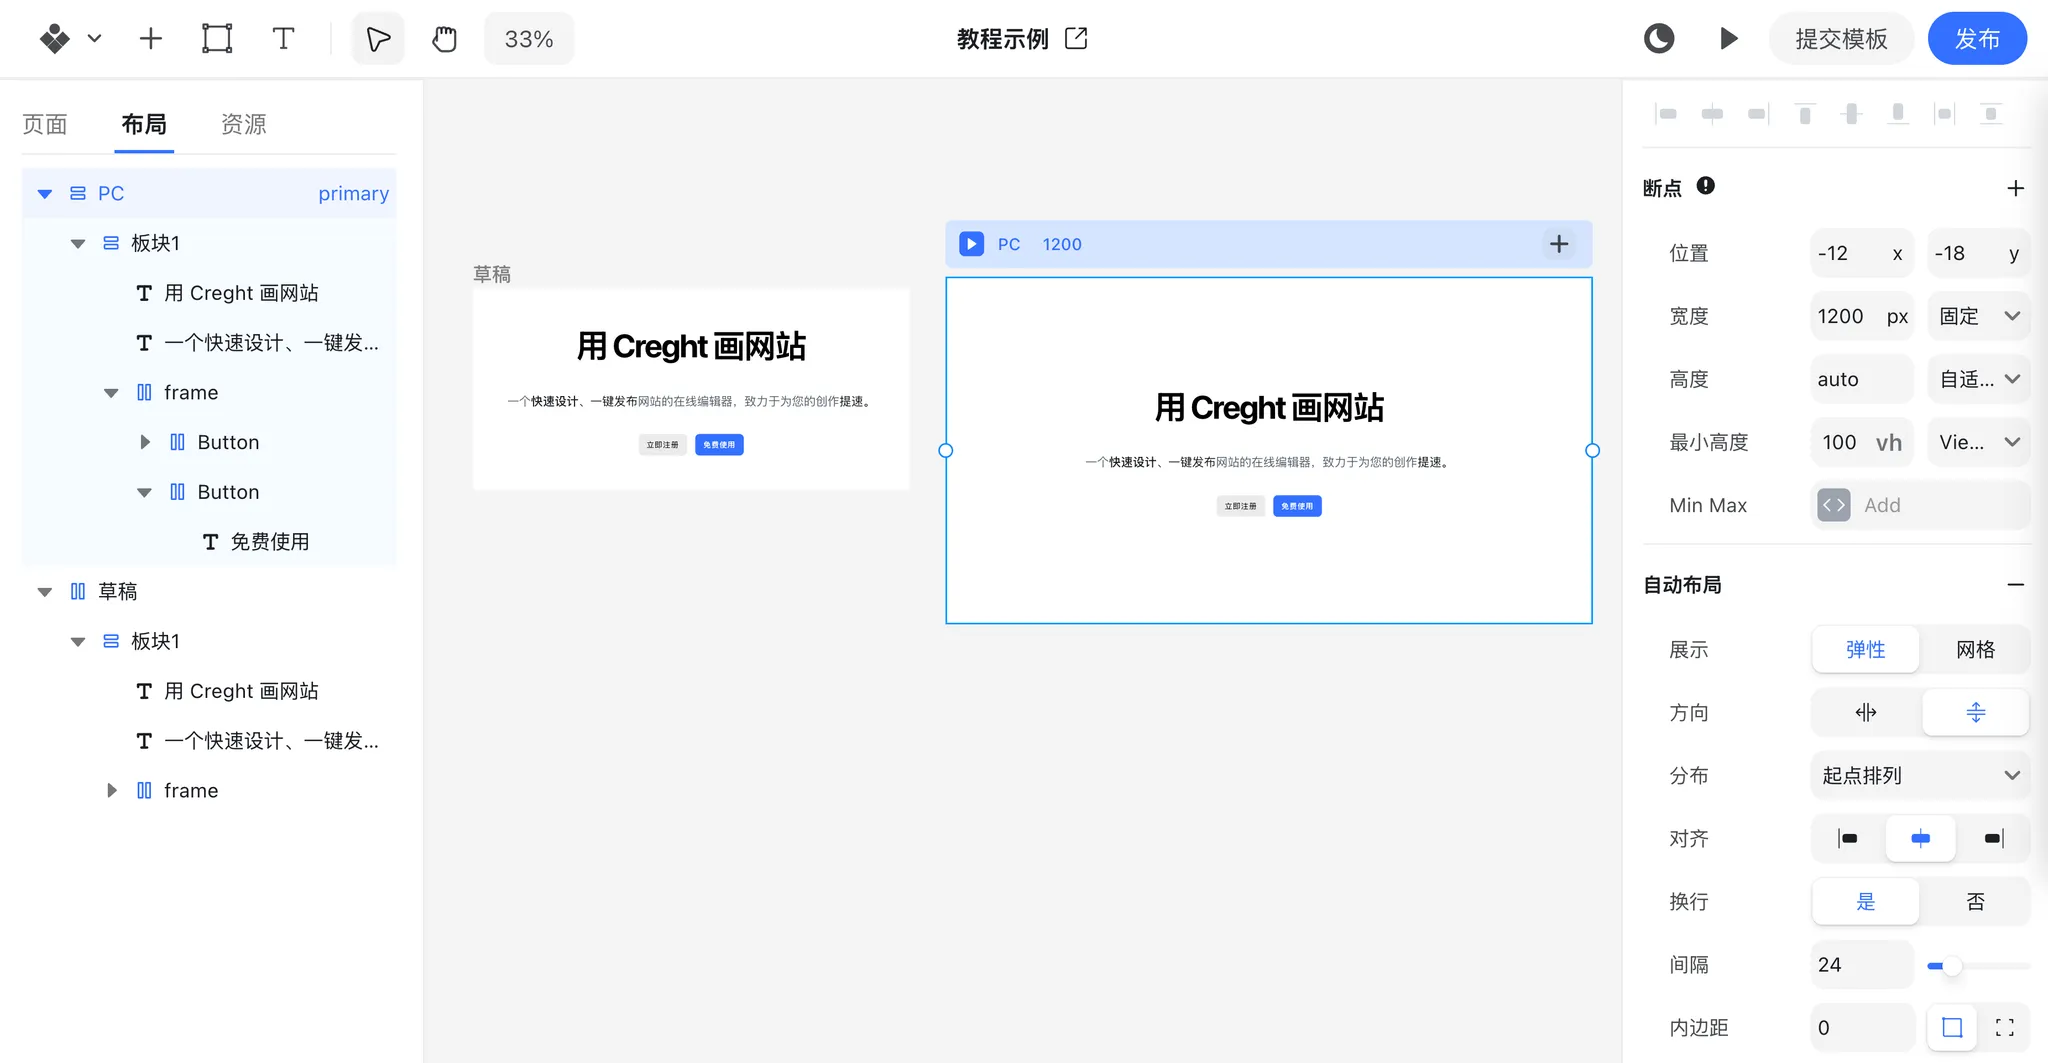
Layer Tree
On the left, the Layer Tree shows the structure and hierarchy of all elements on the page.
- Rename elements by double-clicking a node. Meaningful names help keep designs organized.
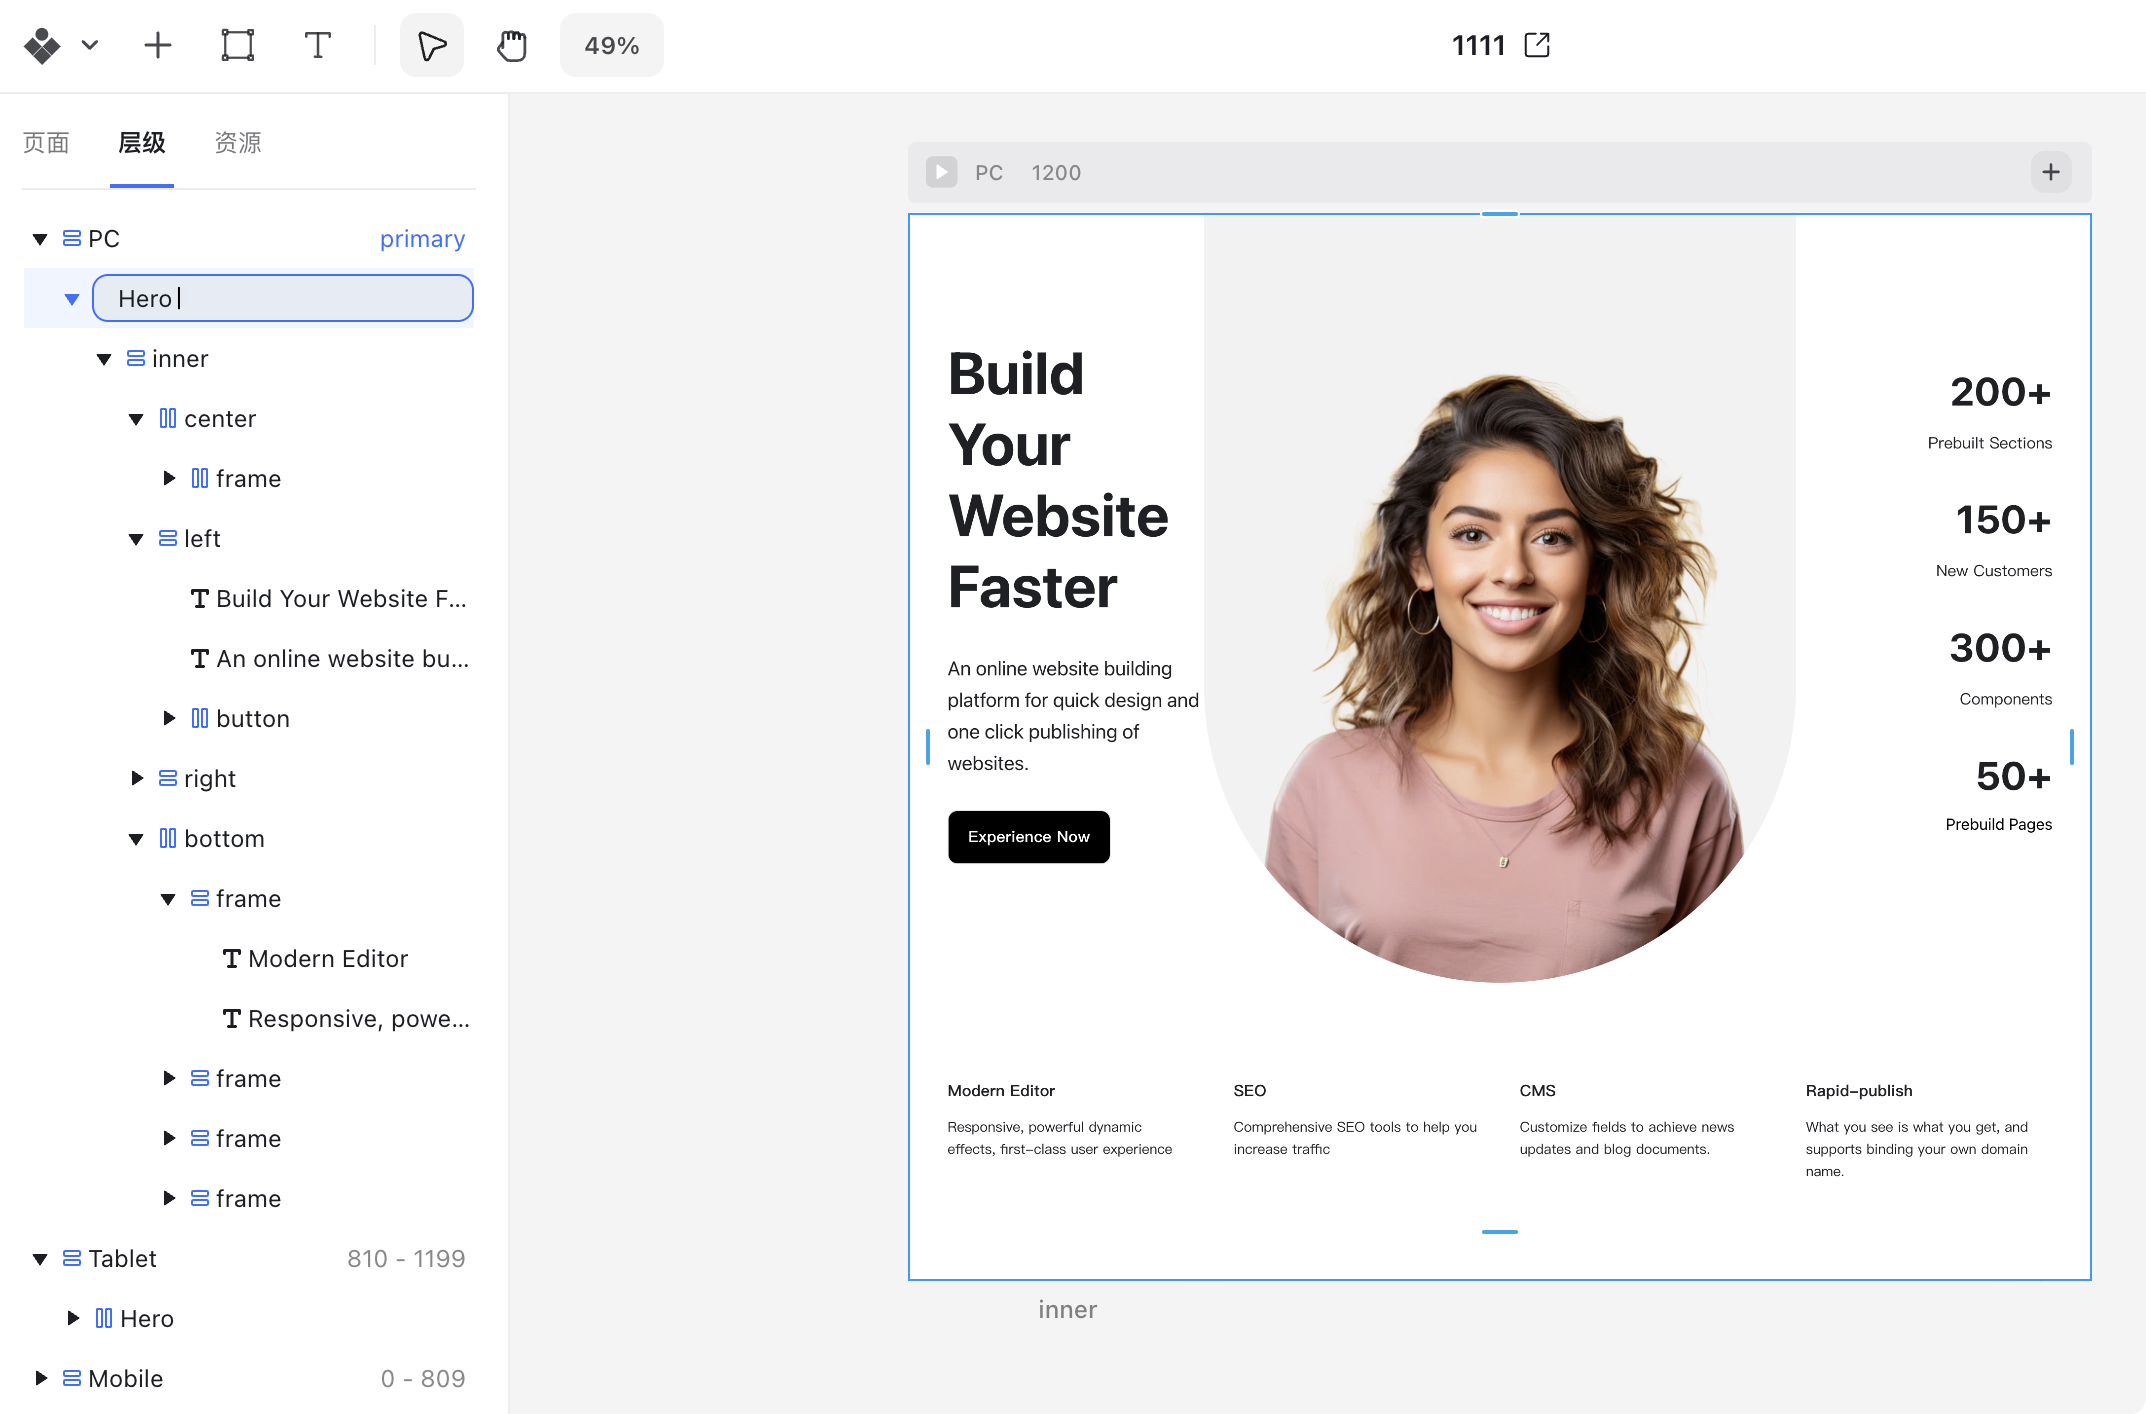
- Reorder elements by dragging nodes up, down, or into different parent containers.
Element Settings Panel
On the right, the Settings Panel displays different options depending on the selected element.
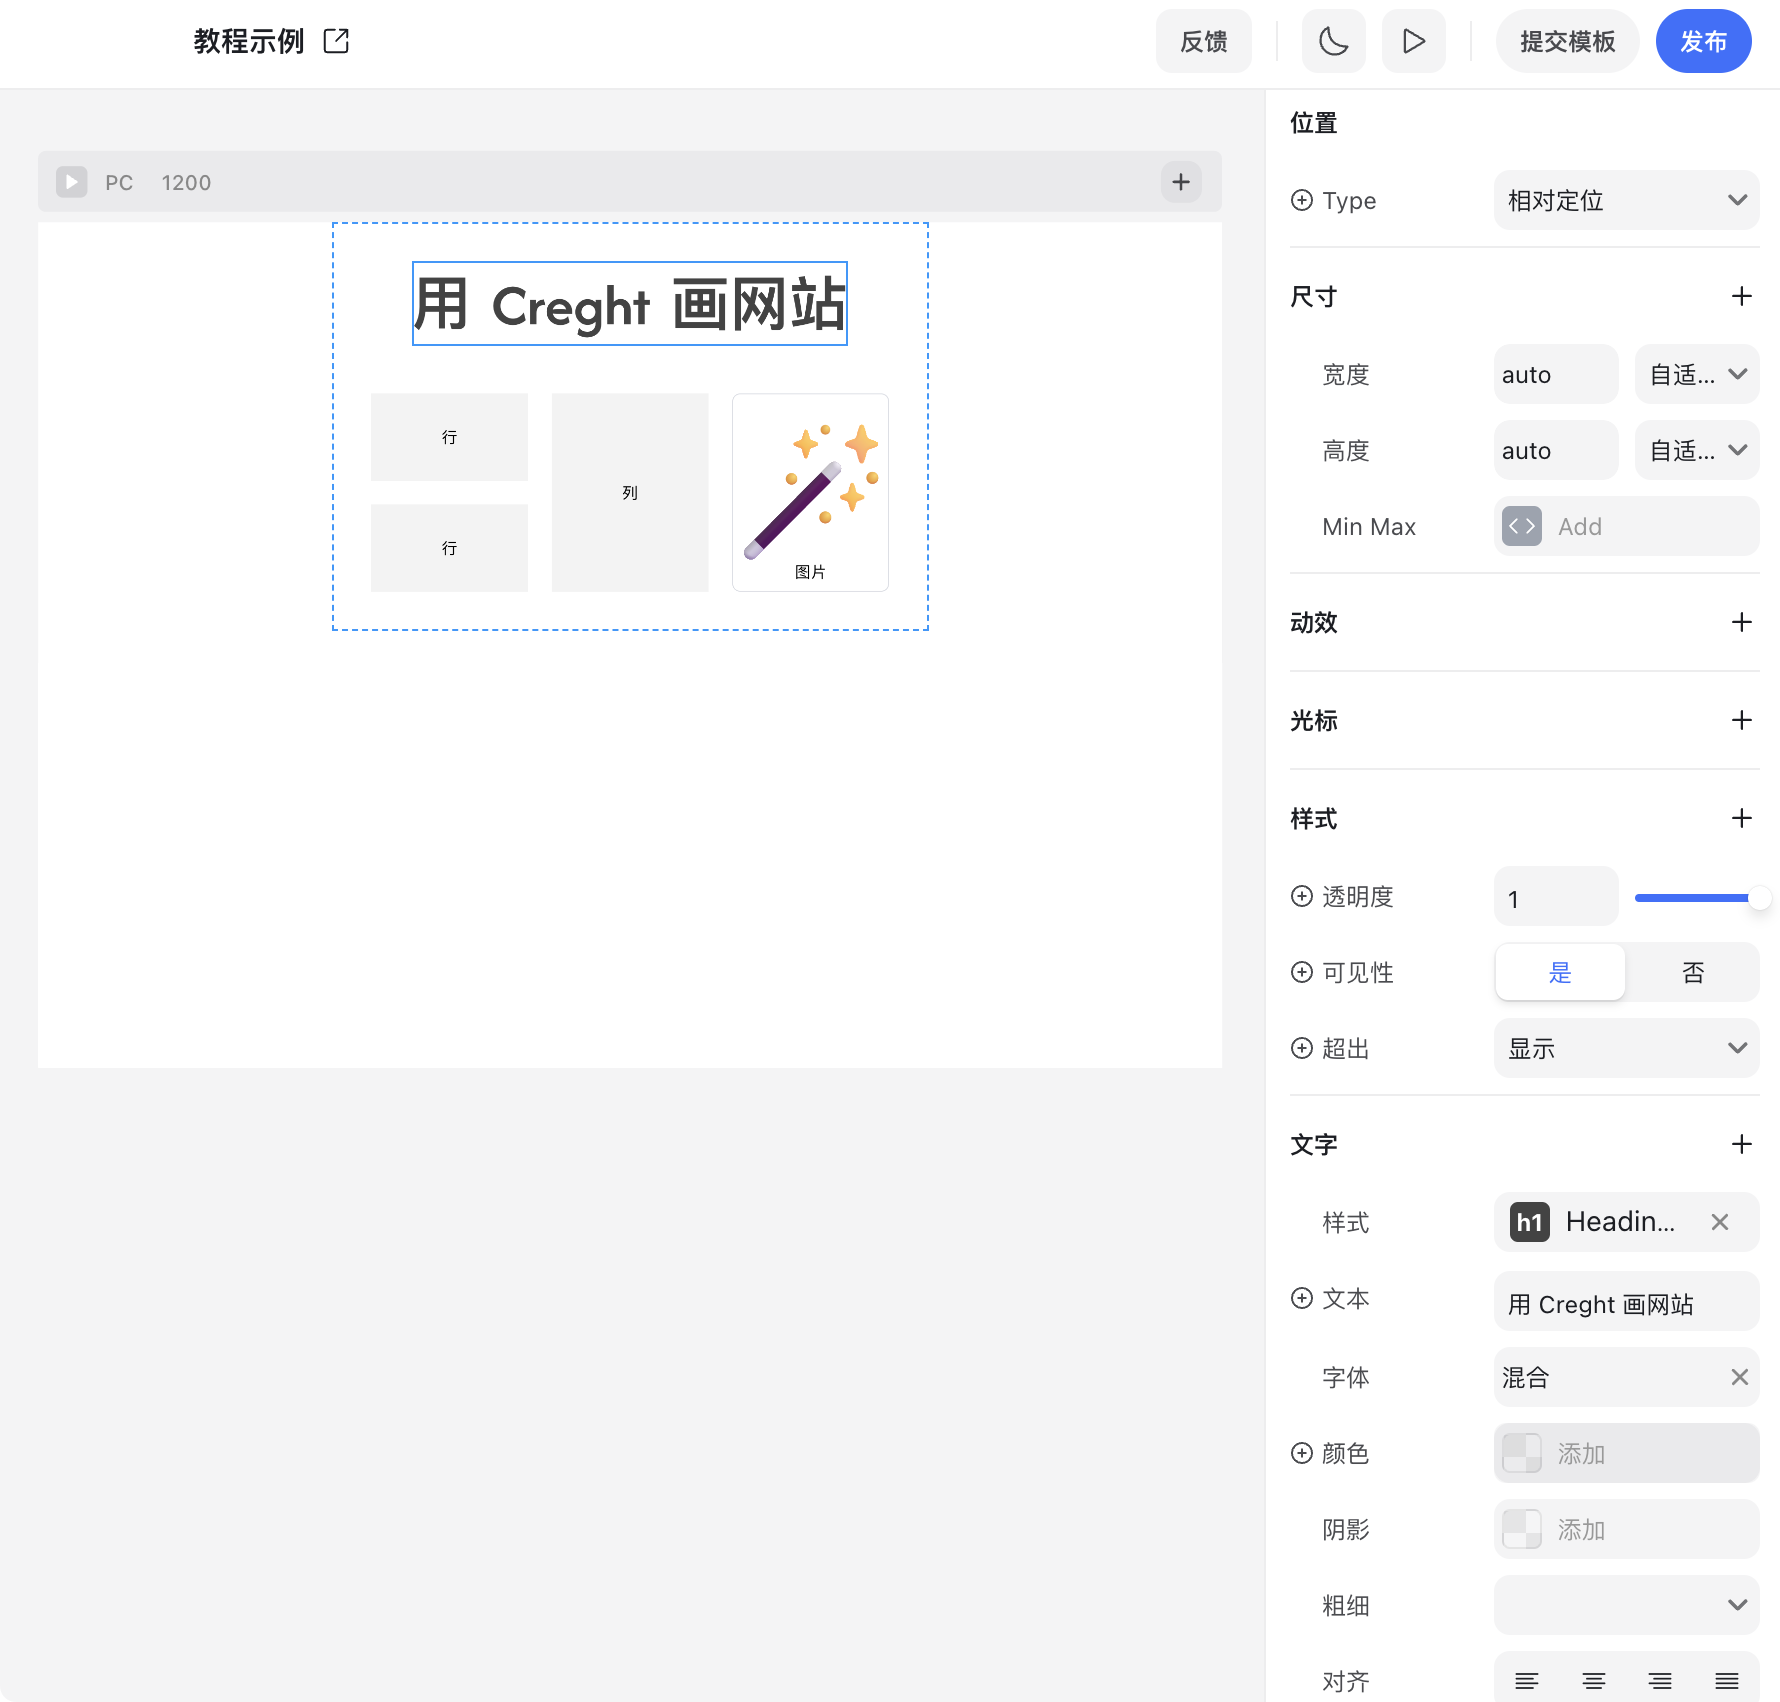
Common Sections
- Position – Control how the element is placed relative to its parent (absolute, relative, fixed, sticky).
- Size – Define fixed dimensions, fit to content, or fill parent.
- Effects – Apply entry animations.
- Cursor – Set mouse cursor style on hover.
- Style – Adjust visibility, opacity, or background.
- Accessibility – Assign semantic HTML tags for SEO and screen readers.
Container-Specific Section
- Layout – Define how child elements are arranged (row, column, grid).
Text-Specific Section
- Typography – Set font family, size, color, and text styles.
💡 Tip: The best way to learn settings is to experiment. If needed, undo any changes with Ctrl + Z (⌘ + Z).
Canvas
The canvas is the main design area. If you’ve used tools like Figma or Blue Lake, you’ll feel at home.
Basic Operations
- Left-click – Select elements; drag to move them.
- Middle-click + drag – Pan the canvas.
- Scroll wheel – Scroll vertically.
- Ctrl (⌘) + Scroll – Zoom in/out.
- Right-click – Open context menu (copy, paste, etc.).
- Shift + Click – Multi-select elements.
- Ctrl (⌘) + Click – Quickly select parent elements.
- Double-click – Edit text or enter component edit mode.
- Shortcuts –
- Ctrl (⌘) + Z – Undo
- Ctrl (⌘) + Shift + Z – Redo
- Ctrl (⌘) + C / V / D – Copy, paste, duplicate elements
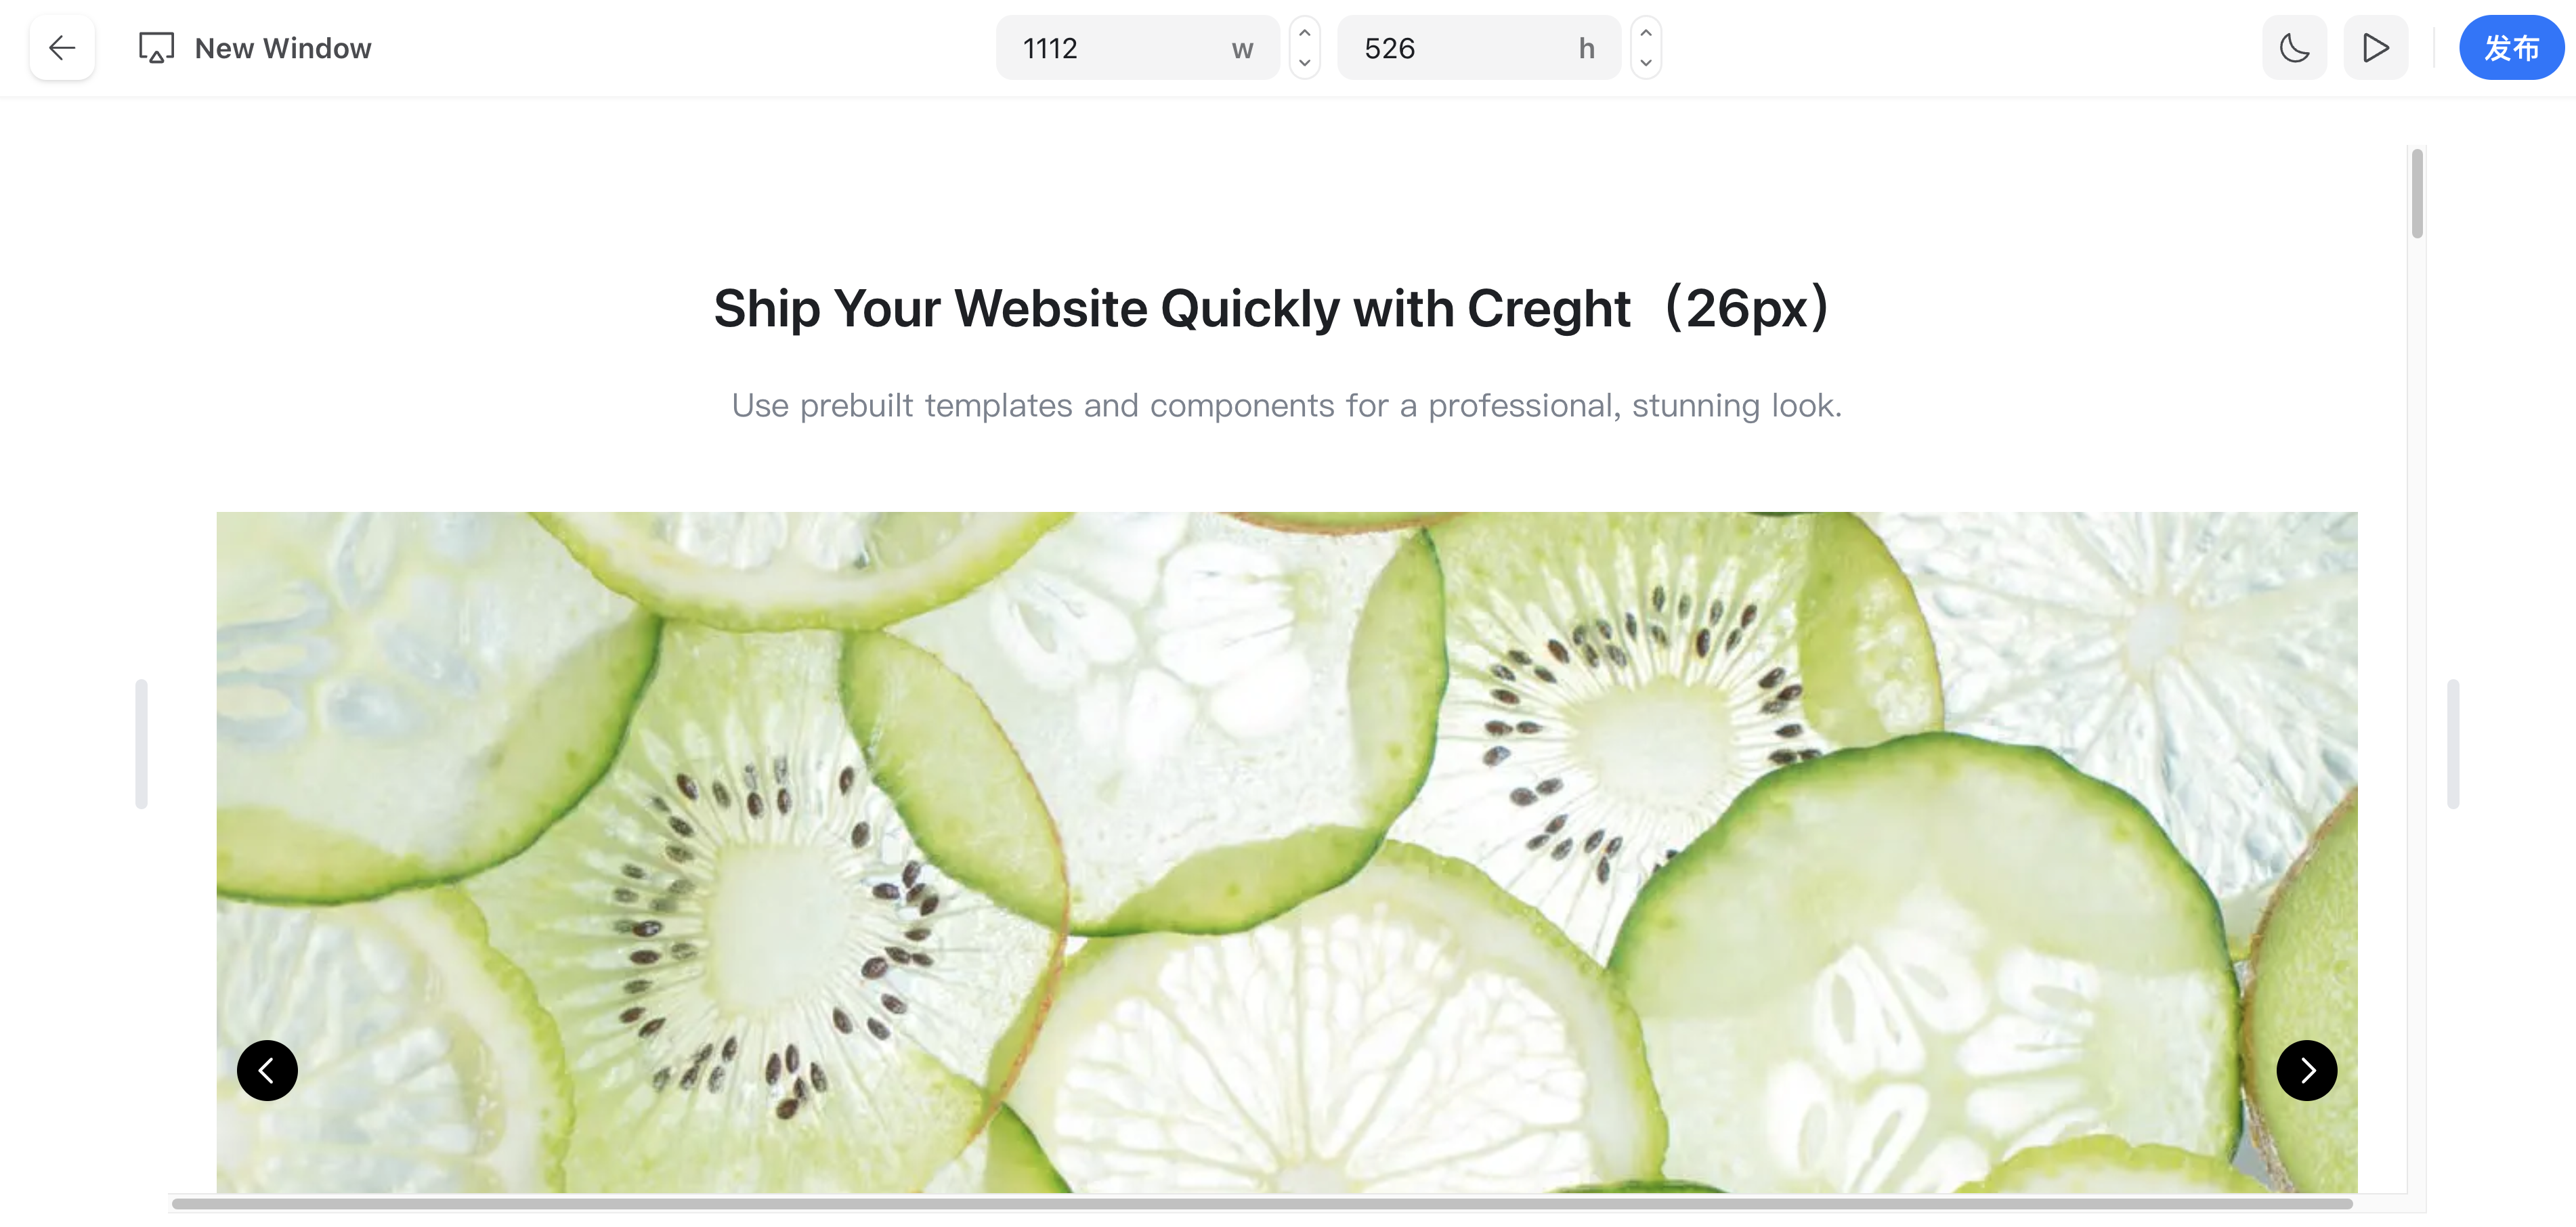
Preview and Publish
After editing, you can preview your changes before publishing.
- Click Preview (top-right) to open a live preview of the current page.

- Adjust the preview window size to test responsiveness across devices.
Once satisfied, click Publish. Your site will go live on both:
- The free Creght domain, and
- Any connected custom domains.
✅ You’re now ready to start designing with the Creght Editor.